
If you missed part 1 of how I built my in the wall ironing board box, you can find it here.
Here is the area that I wanted to put my ironing board -
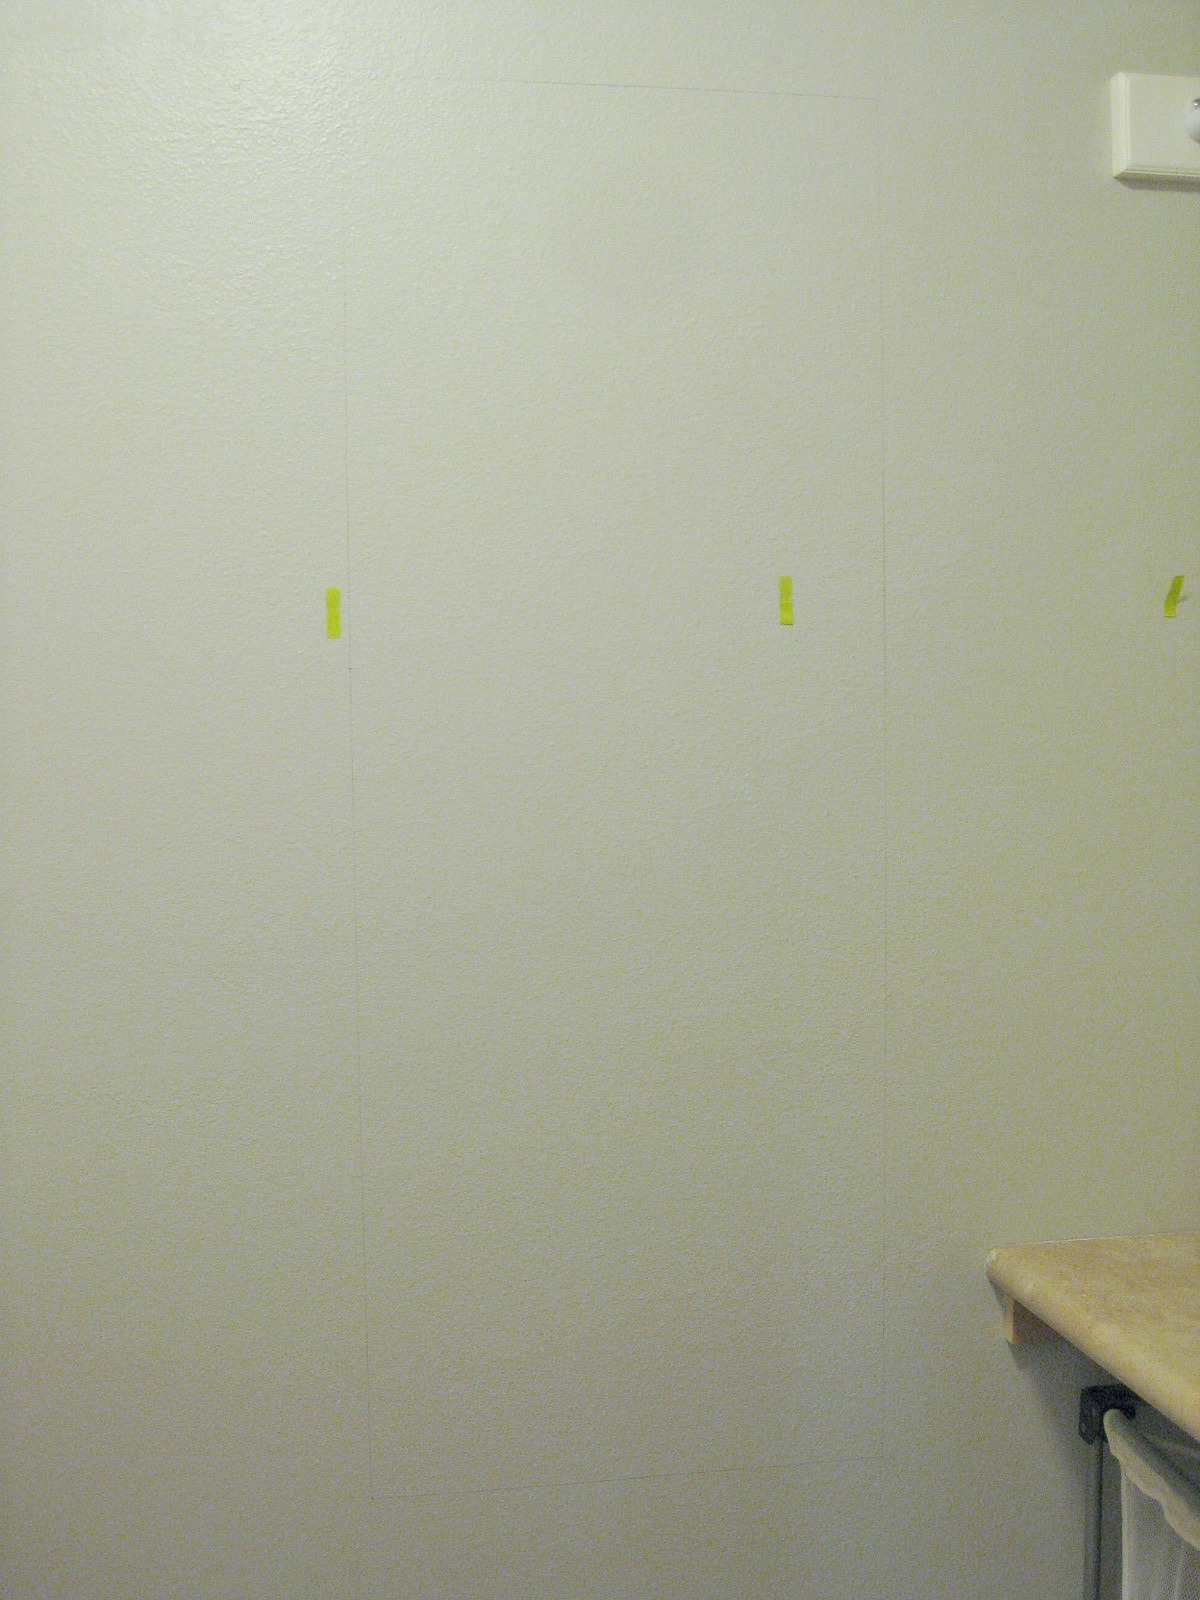
If you look close you can see where I measured my 19" x 50" box dimensions that I created in part 1, and drew it out onto the wall. I also used my stud finder to mark the studs, and used little green note tabs to mark them. Make sure you measure according to where the ironing board is going to fold down, so it is a comfortable height to iron at.
Next, I used a drywall saw and cut out my box. *Don't go too deep when you make your cuts because you can accidentally cut out through the other side of the wall. -


See that stud in the photo above? It was HORRIBLE to get out!! I used a regular saw to cut the top and bottom, and ended up using a hacksaw to cut through the nails that attached the stud to the exterior wall. And HOURS later, had this -

Now that I had my open box I needed to create supports in the wall since I cut out most of the studs. I found this great picture below that gave me an idea on how to do this -

Here is what mine ended up looking like once I installed my supports:

and...

Now, I could finally screw in my box! -

Part 3 will show you the finish work, and how I installed my ironing board.

3 comments:
Wow trish! You are amazing! Love your blog :D
This is amazing. exactly what I have been looking for all morning. What a talented lady and great blog!
Thank you!!
Post a Comment