Wednesday, March 21, 2012

Building An In The Wall Ironing Board - Part 2: Cutting out the wall

If you missed part 1 of how I built my in the wall ironing board box, you can find it here.

Here is the area that I wanted to put my ironing board -
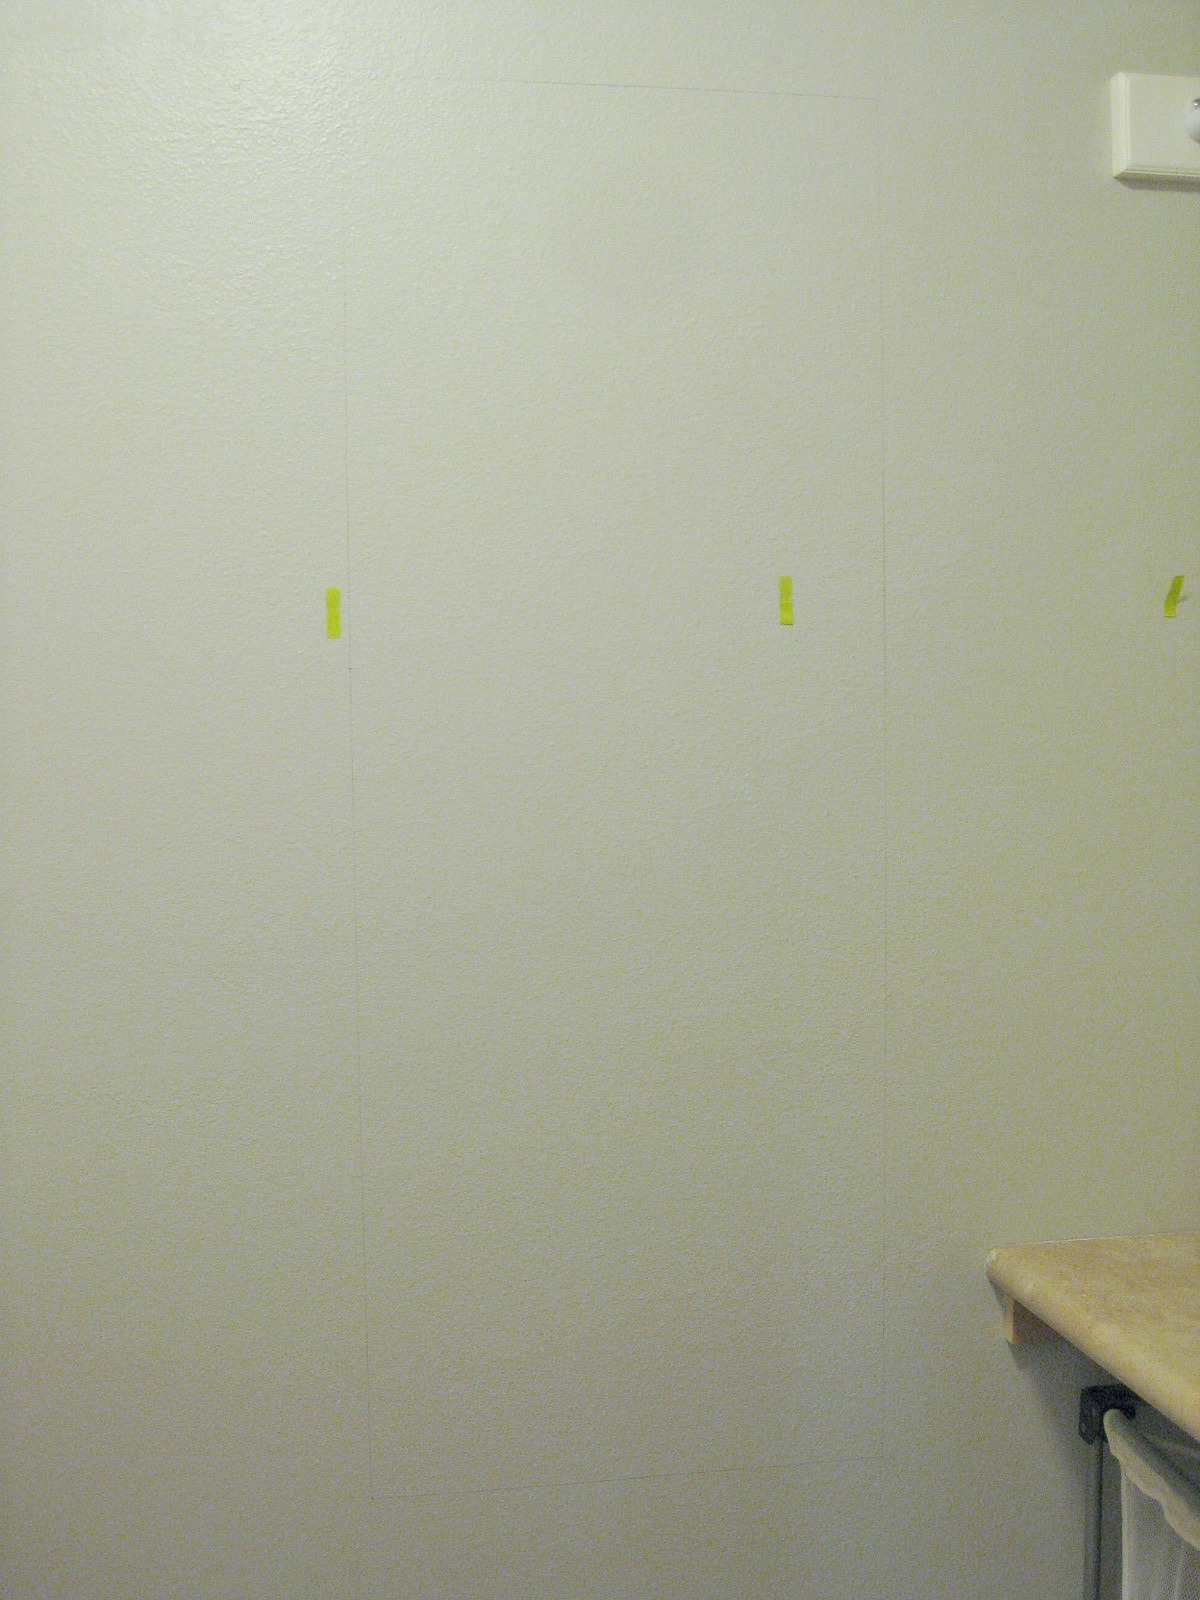


If you look close you can see where I measured my 19" x 50" box dimensions that I created in part 1, and drew it out onto the wall.  I also used my stud finder to mark the studs, and used little green note tabs to mark them.  Make sure you measure according to where the ironing board is going to fold down, so it is a comfortable height to iron at.

Next, I used a drywall saw and cut out my box. *Don't go too deep when you make your cuts because you can accidentally cut out through the other side of the wall. -


See that stud in the photo above?  It was HORRIBLE to get out!!  I used a regular saw to cut the top and bottom, and ended up using a hacksaw to cut through the nails that attached the stud to the exterior wall.  And HOURS later, had this -


Now that I had my open box I needed to create supports in the wall since I cut out most of the studs.  I found this great picture below that gave me an idea on how to do this -

Here is what mine ended up looking like once I installed my supports:


and...


Now, I could finally screw in my box! - 


Part 3 will show you the finish work, and how I installed my ironing board.

Tuesday, March 20, 2012

Building An In The Wall Ironing Board - Part 1: Creating The Ironing Board Box

Since I have been organizing and building cabinets in my laundry room, my husband suggested we get an ironing board that attaches to the wall.  I searched and was amazed at how EXPENSIVE those could get, especially the in the wall ironing board units.  

Here are a few that I found:

Home Depot - $169

 Sears - $399 sale (reg $572...r they crazy???)


AJ Madison Appliance - $333 (doesn't include a door either!)


I decided I could build one for MUCH less!  Mine ended up costing about $50 and was much more attractive.  :)


Here is how I did it -

I found this over the door ironing board for $16.47 from Walmart here:


I measured the entire ironing board system and used leftover 1/2 inch mdf from my laundry cabinets to cut the following pieces:


The large back piece is 18" x 49", the sides are 49" x 3", and the top and bottom pieces are 19" x 3".

I used wood glue and 3/4 inch brad nails to put it together:


Now that I have a 19" x 50" box that is complete, I need to cut out the wall to insert it.  Stay tuned for Part 2 and I will show you how I did that!

**update - you can find part 2 here and part 3 here.
 

Tuesday, March 13, 2012

Laundry Room Cabinet Tutorial Part 2 - Cabinet Finish Work

If you missed the previous posts on the Laundry Room Makeover, you can catch up on them here:

&

We left off on the last post after just mounting the cabinet base - 


After installing it, I sanded, primed and painted the cabinet.  I rolled the primer and paint with a cabinet sponge roller.  While I was priming, I rolled the primer on and used a spray paint primer for the cracks and spots the roller couldn't reach. 

Next, I installed rounded edge primed mdf boards to all sides of the cabinet.  I used 3 1/2 inch boards on the top, sides, and middle of the cabinet, and a 2 1/2 inch board across the bottom.  Lastly, I attached crown along the top 3 1/2 inch board.  After puttying, calking, and painting AGAIN (I found it easier to putty, calk, and paint the cabinet and molding at different times), it FINALLY looked like this - 


Next up was to create the cabinet doors.  I purchased 1/4" sheets of birch wood for the faces and attached 2 1/2" primed mdf boards to frame it with liquid nails and 1/4" brad nails - 


After more calking, puttying, sanding, and painting...I attached oil rubbed bronze hinges and knobs and hung them up.

And walla!  Custom cabinets for a fraction of the price!  


Total cost came out to about $200. 

Again, the before:


And the after:


I have a few more projects up my sleeve for the other side of this room that I can't wait to share with you!

Monday, March 12, 2012

Laundry Room Cabinet Tutorial Part 1 - Building the Cabinet Base


My last post showed you my laundry room before and after reveal of the custom cabinets I made for our laundry room.  To recap, here is the before and after once more - 

before:


and the after:


Now, here is part one of how I did it for those of you who might want to give it a whirl...

I started by buying 1/2 inch mdf board from Home Depot and having them make the large cuts for me (our local store will do up to 10 cuts for free for you) - 


 I attached the top and side pieces to the large backing with wood glue and 1 1/4" brad nails - 


Once that was set I flipped it over and attached the bottom piece -


Once the frame was assembled, I added L brackets for the main support to the all the pieces that touched the main back piece (since this piece was going to be screwed into the studs) - 


Next, I added one long shelf in the middle - 


And then added vertical supports to also create divisions and supports for the cupboard doors as well - 

All of these shelves I glued and nailed in with brad nails. 
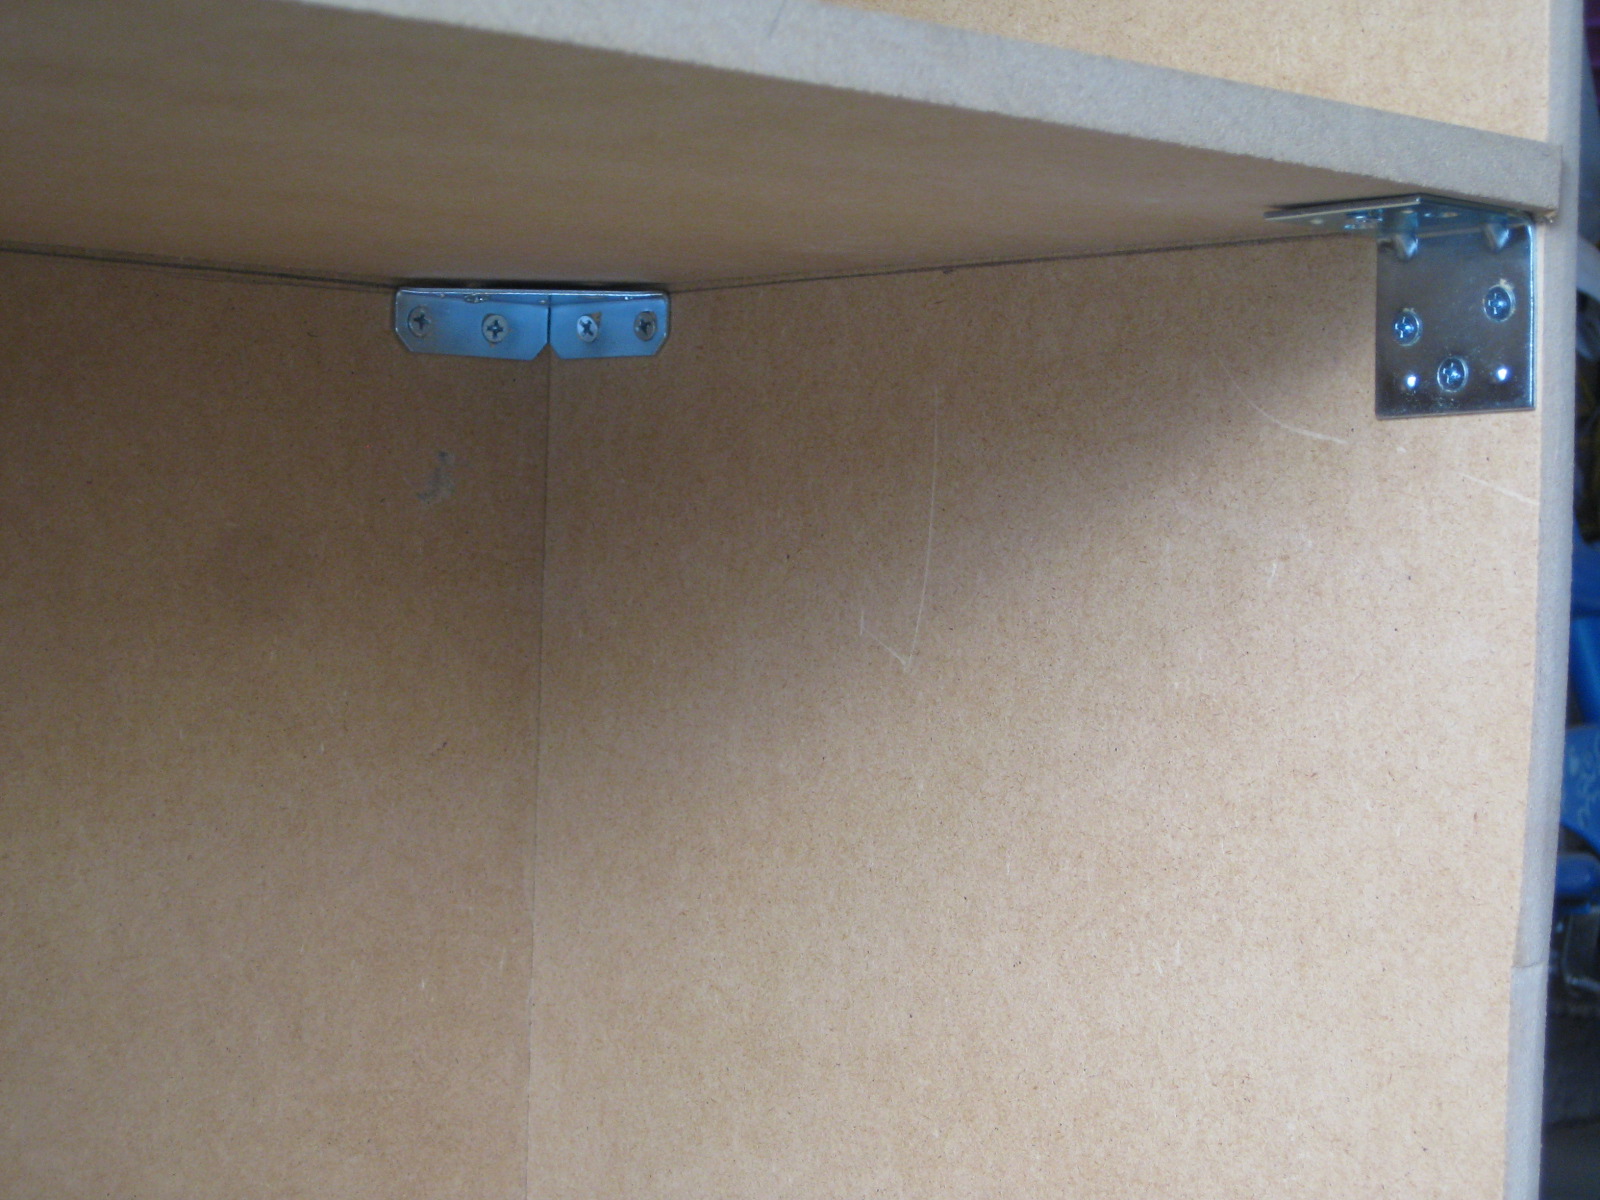
I also used corner supports and L brackets for the main shelf to support the weight for items used on that shelf - 


Now that the main part is all assembled, it was time to ask our kind friend and neighbor to help my husband carry it up to our laundry room and screw it into the studs!  And guess what happened???  IT WOULDN'T FIT INTO THE LAUNDRY ROOM!!  Yes, not everything goes according to plan.  I had one very frustrated husband!  Apparently, when I made the cabinet 1/4 of an inch smaller than the width of the wall I didn't take into consideration that it had to get past the door jam that sticks out. :(  Our friend suggested I cut the cabinet down on one side, Jigsaw to the rescue!  Fortunately, it only took an hour to saw off 4 inches (just to be safe) and reattach the brackets.


And finally it was up!  We attached it to the studs with 2 inch screws...a lot of them just to be safe. :)

Stay tuned for Part 2 where I will show you the finish work side of it!

Sunday, March 11, 2012

Laundry Room Custom Cabinet Reveal


There was one room in my house that you never saw, or at least I hoped no one ever saw...my laundry room.  Surprisingly, it was the ONLY room in our entire house that had never seen another paint color than the original the builder did 7 years ago.  I know, ME!  The one who paints and repaints walls constantly had a blank canvas and an undecorated room.  Every time I mentioned to my husband that I needed to clean up the laundry room, he would say "Why? No one sees it why spend the time and money on it?".  Well, I see it!  So, while doing laundry last week I decided that was about to change.  I needed a calm and relaxing environment even if no one benefits from it but me.

Here is the boring and realistic BEFORE:


My biggest complaint was lack of storage and use of space.  These wire shelves...weren't cutting it.  I would get so frustrated when items would fall through the slits and land behind my washer and dryer.  I really wanted some custom built-ins that held a lot; yet,  could conceal items to make it look a little bit more appealing.  However, I didn't want to PAY for custom built-ins...so I decided to customize and build my own!

Here is the finished AFTER:


This was really hard to photograph due to the angle of the room and doorway, but here is a glimpse of the inside with the cabinet doors open:


I LOVE how they turned out and am very excited to fill up all these cupboards!

I painted the room Valspar's Notre Dame, a very soft gray. 

Below are the links to "how to make these cabinets" in this room! 

Laundry Room Cabinet Tutorial Part 1 - Building the Cabinet Base

Laundry Room Cabinet Tutorial Part 2 - Cabinet Finish Work


 This project is linked up to the following parties, go check out their awesome sites!

I Heart Nap Time


TDC Before and After


Saturday, February 25, 2012

Topiary Tutorial

 
I have been wanting a double topiary for my new living room, but couldn't find one I loved within the price I wanted to pay.  So, I set off to purchase the stuff to create my own.

I started out with the Styrofoam topiary from Hobby Lobby and painted the branch part a dark brown.  Immediately after painting it, I wiped some off to give it a variation affect:


Next I got out my glue gun and clued this backed moss onto it:


And I glued, and I glued, and I glued...


I found this artificial willow leafed branch that I liked and wanted to incorporate it: 

 
I grabbed my needle nose pliers and started cutting and sticking in the pieces into the styrofoam:


And ended up with this:


I liked how it was a little different than others I had seen; however, quickly questioned my opinion after my husband said, "It looks like a mangled snowman from the spring."  (I think his opinion might be a little more positive if he had seen the price of the drool worthy ones I was admiring at Pottery Barn and Ballard Designs) :)  Still, he kind of burst my bubble!

For only $20 I think it might be staying for a while...


What do you guys think, mangled melting snowman or cute addition?