
My last post showed you my laundry room before and after reveal of the custom cabinets I made for our laundry room. To recap, here is the before and after once more -
before:

and the after:

Now, here is part one of how I did it for those of you who might want to give it a whirl...
I started by buying 1/2 inch mdf board from Home Depot and having them make the large cuts for me (our local store will do up to 10 cuts for free for you) -

I attached the top and side pieces to the large backing with wood glue and 1 1/4" brad nails -

Once that was set I flipped it over and attached the bottom piece -

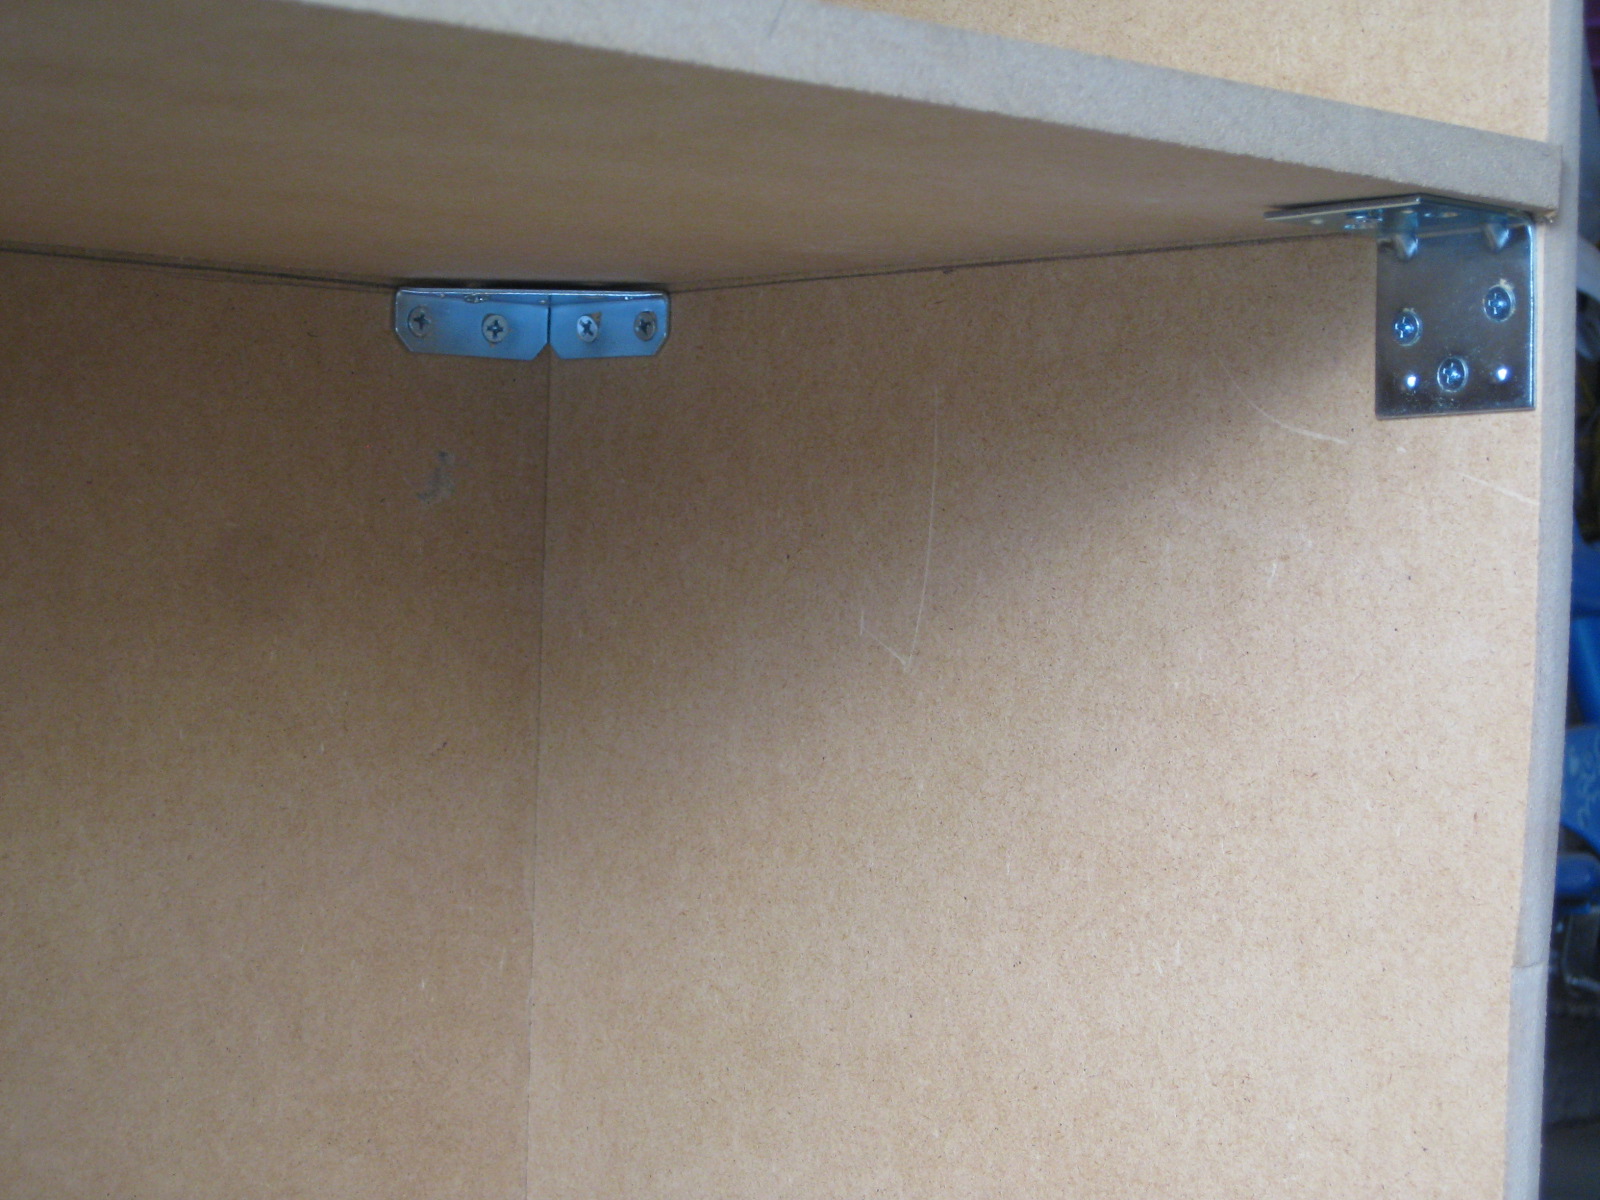
Once the frame was assembled, I added L brackets for the main support to the all the pieces that touched the main back piece (since this piece was going to be screwed into the studs) -

Next, I added one long shelf in the middle -

And then added vertical supports to also create divisions and supports for the cupboard doors as well -

All of these shelves I glued and nailed in with brad nails.
I also used corner supports and L brackets for the main shelf to support the weight for items used on that shelf -
Now that the main part is all assembled, it was time to ask our kind friend and neighbor to help my husband carry it up to our laundry room and screw it into the studs! And guess what happened??? IT WOULDN'T FIT INTO THE LAUNDRY ROOM!! Yes, not everything goes according to plan. I had one very frustrated husband! Apparently, when I made the cabinet 1/4 of an inch smaller than the width of the wall I didn't take into consideration that it had to get past the door jam that sticks out. :( Our friend suggested I cut the cabinet down on one side, Jigsaw to the rescue! Fortunately, it only took an hour to saw off 4 inches (just to be safe) and reattach the brackets.

And finally it was up! We attached it to the studs with 2 inch screws...a lot of them just to be safe. :)
Stay tuned for Part 2 where I will show you the finish work side of it!

3 comments:
These posts are so inspiring. Can't wait to look around some more!
I am hoping to do something similar myself, so thank you so much for posting inspiration and details. Yours turned out soooooo nicely!
How deep are your cabinets?
Post a Comment