Thursday, February 23, 2012

Board & Batten Accent Wall Tutorial


Our living room is rectangle shaped, and the main wall in the room houses two vertical windows.
Ever since we built this home 7 years ago, I have always had this one wall as an "accent" wall to break up the room a little.  Previously, it was just a different color than the rest of the room- 

However, I felt the need to leave the "colorful" paint tones behind and venture off into the soft, relaxing, refreshing, and soothing ones.

Since I am in l.o.v.e. with board and batten, I decided this would be a perfect opportunity to still keep my "accent" wall, soften the room, and continue the brown on the existing walls throughout. 

After seeing Watch Me Daddy's post on how they created theirs, I felt confident enough to give it a try.  I implemented most of their directions with a few exceptions.  Theirs turned out so beautiful, how could one not be inspired?! - 


I wanted the boards wide and chunky, but did not want to replace the traditional baseboards our builder put in throughout the room.  I also wanted the boards to flow and not look like I just threw random boards up on the wall to accomplish the look I was going for. 

I wanted my base to be tall and not have much board sticking out farther than the board below it.  So, I started by purchasing the same baseboards that I already had, and installed them upside down...right on top of the existing baseboards:


Next, I placed a 3/4" by 3 1/2" primed rounded edged piece on top of the upside down baseboard.  I also used 3 1/2" boards vertically and spaced them 13" apart.  Due to the windows there are a few spaces that are more than 13"; however, I tried to make them blend.  Hopefully, you cannot tell!


 I used 2 1/2" nails to nail all the boards to the walls.  Frustrating enough, the vertical boards hardly ever matched up with a stud.  I ended up using Liquid Nails to attach those boards with a few finishing nails to keep them lined up while the glue was drying.

After the vertical boards were added I placed a 3/4" x 2 1/2" primed rounded edge piece horizontally on top.  Next, I added a 5 1/4" base molding on top of that.  I also loved the look of the shelf; however, only wanted it for decoration purpose not functionality.  I laid the 3/4" x 2 1/2" rounded board flat on top of the baseboard and added a quarter round piece to fill some of the gap between the two boards:


And...after a TON of filling holes, gaps, sanding, and painting...it was complete!


Sunday, February 19, 2012

Living Room Makeover Update

I bet you guys thought I jumped ship and quit blogging!  Nope!  Just spending some relaxing time here -
 and...busy making some major changes at home!

Do you ever make a change and look back and think, "what was I thinking?"...???

That is exactly what I said after I saw my before pictures below compared to changes I recently made.

Here is the BEFORE:


And here is the AFTER:


 Here's what I did:

- recovered the sofa (you can see that post here)
- new rug
- board and batten accent wall
-new roman shades
- repainted room
- new accent table
- new pillows
- new framed photos
- a few new room accessories

Stay tuned for more details on this room~!

Tuesday, December 13, 2011

Recovered Sofa

Change with me is inevitable.  After searching, studying, and designing for others, I am always getting new ideas for my home as well.  Which brings me to my latest project, my living room.  

Since I enjoy changing things up so much, I thought the plan to alter my sofa was a wise investment.  Having a neutral sofa allows for you to change the colors and fabrics of a room much easier.  Not to mention I really didn't enjoy our micro fiber couch, the fabric always looked dirty.

I found a fabric I love at a local fabric store for only $6.99 a yard!  It is an upholstery fabric that is very similar to chenille; however, it has both light and dark threads in it that compliment the leather frame.   Total cost to recover my couch, $130...AND a lot of time and sewing. :)

Sofa before:

 
Sofa after:
Here is a close-up of the fabric:
I can't wait to get going on the rest of the room!

Sunday, December 11, 2011

New Completed Headboard

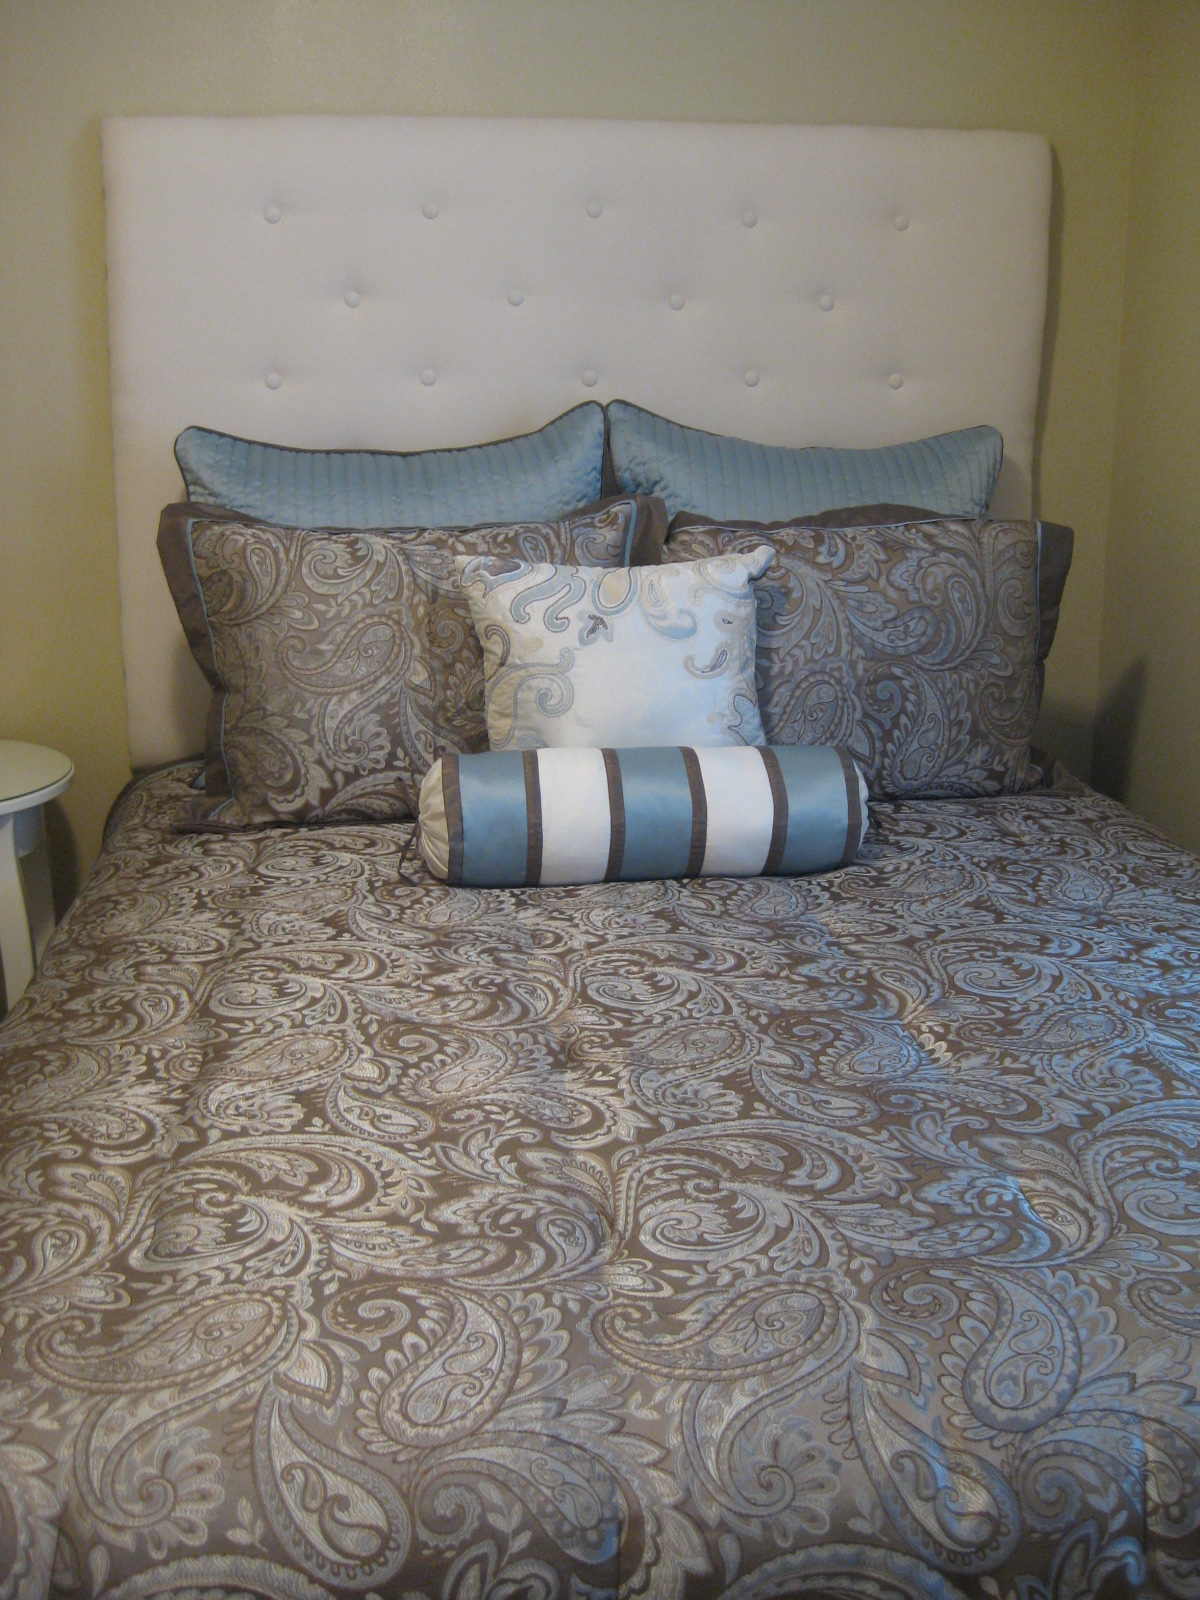
Here is a new DIY queen size headboard I completed this past week for someone.  I really like how the soft white compliments their bedding! -


Thursday, December 1, 2011

December Decorating Tip Of The Month


Dress-up Your Lamps

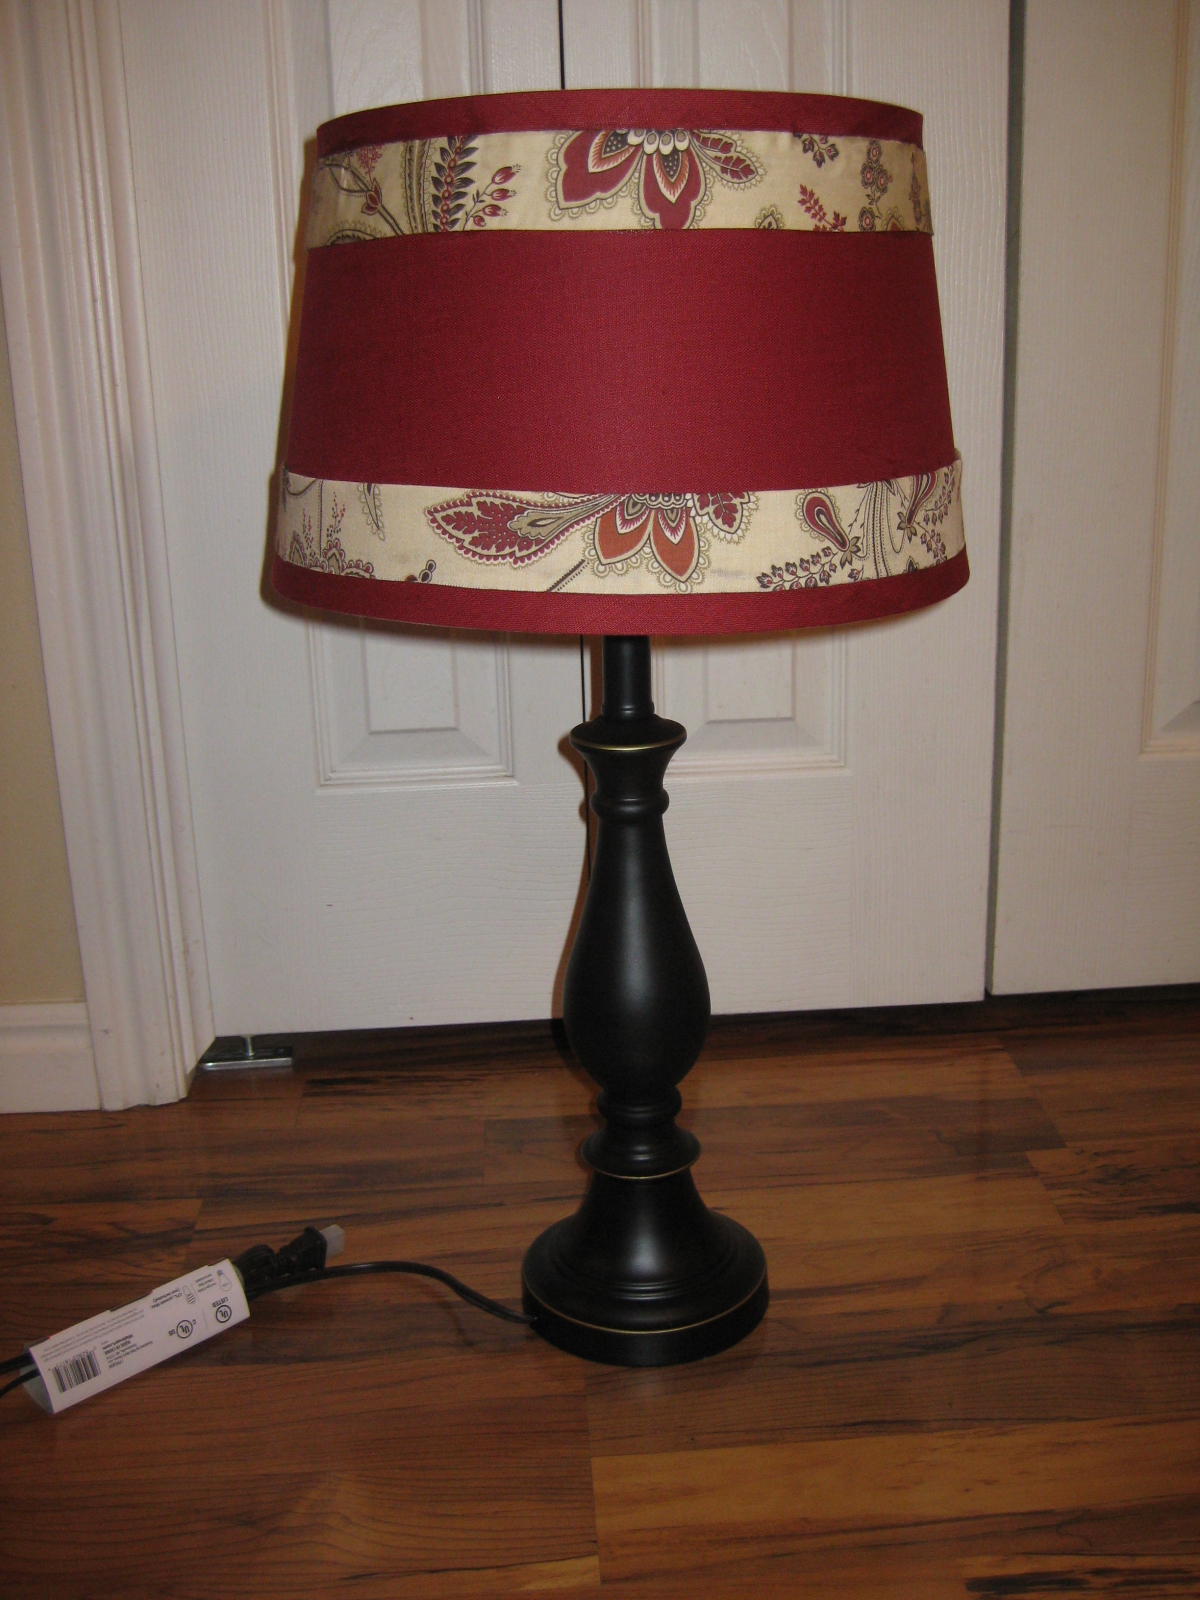
Adding something as simple as beads, ribbon, or fabric to your lamp shades can add some of those extra touches to a room - 


Friday, November 25, 2011

From Doorway to Archway


Our friends are just finishing up their basement and had a brilliant idea that we just had to copy, turning your basement doorway into an archway!
  When we finished our basement over five years ago, we removed the door and filled in the hinges with putty.  We wanted to make it a continuation of our home, and not feel so much like a 'basement'.  Unfortunately, it still looked like 'someone just took off the door to the basement'.

After hearing of their great idea we decided to have ours done by the same contractor while he was completing theirs as well.  

We went from this - 


To this - 


another angle:

before:


after:
 
The basement now feels more of an extension of our home, rather than a separation. 


Saturday, November 12, 2011

"I am Thankful for..." Printable Craft Strips Wreath


Anyone else enjoying
too???

If you are as much as me you may have seen these cute little "I am thankful for..." craft strips that can be used in a multitude of ways; garlands, napkin ring holders, etc.  

Silverboxcreative.com provides a link for the download for the free printables here.


  Last weekend my sweet friend and I hung out and she brought over this fun and festive craft for us to try.  She left me with some extra rings so I decided to try and make a wreath with them...I think it turned out pretty cute!


I started by buying a styrofoam wreath -


Then I hot glued the strips into rings and glued them on the wreath in different directions -


And kept gluing and gluing AND gluing.  Before I went all the way around I gathered the ribbon I wanted to hang it from and tied it around the wreath -


Once tied, I glued the rings over the ribbon so it was hidden and finished filling in the entire wreath - 


Finally after it was complete I tied a very long loose bow onto the ribbon to let it drape over the wreath.


Another fun direction to take these cute little "thankful" strips.

Saturday, November 5, 2011

Storage Ottoman - Finishing Touches - Part 2

If you missed the "how to" build this storage ottoman below, you can find that tutorial here -


Now that I had a finished box, I needed to make it pretty!

I started out by setting my nails in deeper with a nail setter, and filled in all holes, and cracks with Minwax's Stainable Wood Filler -
Then sand, sand, SAND!

I chose Minwax's 'Provincial 211' as the color to stain it.

For those of you who haven't stained before, it is incredibly easy.  Simply dip a clean cloth in stain, wipe and rub into wood in the direction of the grain.  Make sure you apply it evenly and that no stain drips are left unattended.  Continue applying until you reach your desired darkness. (directions recommend sanding in between; however, that is a step I usually skip.)  
I completed the process by spraying a polyurethane top coat in gloss.  I like to use the spray can version to get even coverage and avoid brush strokes.

Next was applying my previously broken bench top:


I decided to use hinges because I knew my kids would never replace the lid after retrieving/returning a blanket back to the ottoman.


After many failed attempts of trying to hold the lid, hinges, and box in place while drilling the screws in by myself...my dear friend came over to help hold everything while I drilled!  What a lifesaver!

and...

We have our selves a very functional, beautiful storage box to hold our blankets in our family room!


I am linking up to:

Photobucket