Wednesday, July 17, 2013

Painted Front Door & DIY Planter Box Tutorial

Moving into our home brought on much needed TLC projects to freshen up the space.  

Our front door is wood, and was stained a dark finish that was peeling from the heat and weather exposure.  It was in desperate need of being stripped and refinished.  The original stain was dark; however, I wanted to paint it black to coordinate with the black shutters and wrought iron handrails out front.  Here it is all freshened up - 


 I wanted to incorporate some black on the other end of our home to help balance out the use of the color.  I thought in-between our garage doors would be the perfect spot for a black planter box. 


After seeing Kate from Centsational Girl's criss cross flower box, I knew that was the one I wanted to do!
Kate's turned out beautiful with pretty lemon trees planted inside -

 
I wanted to copy the look; however, decided to change a couple things.  Due to our changing seasons here in Utah, I wanted to be able to set a pot inside of it for easy transporting throughout the year.  Also, I wanted to use a little cheaper wood to cut the cost down.  My total cost was $40 for the one planter. 

I started by cutting 2x4's to create two squares (size varies, I did mine to accommodate the size of my pot) - 
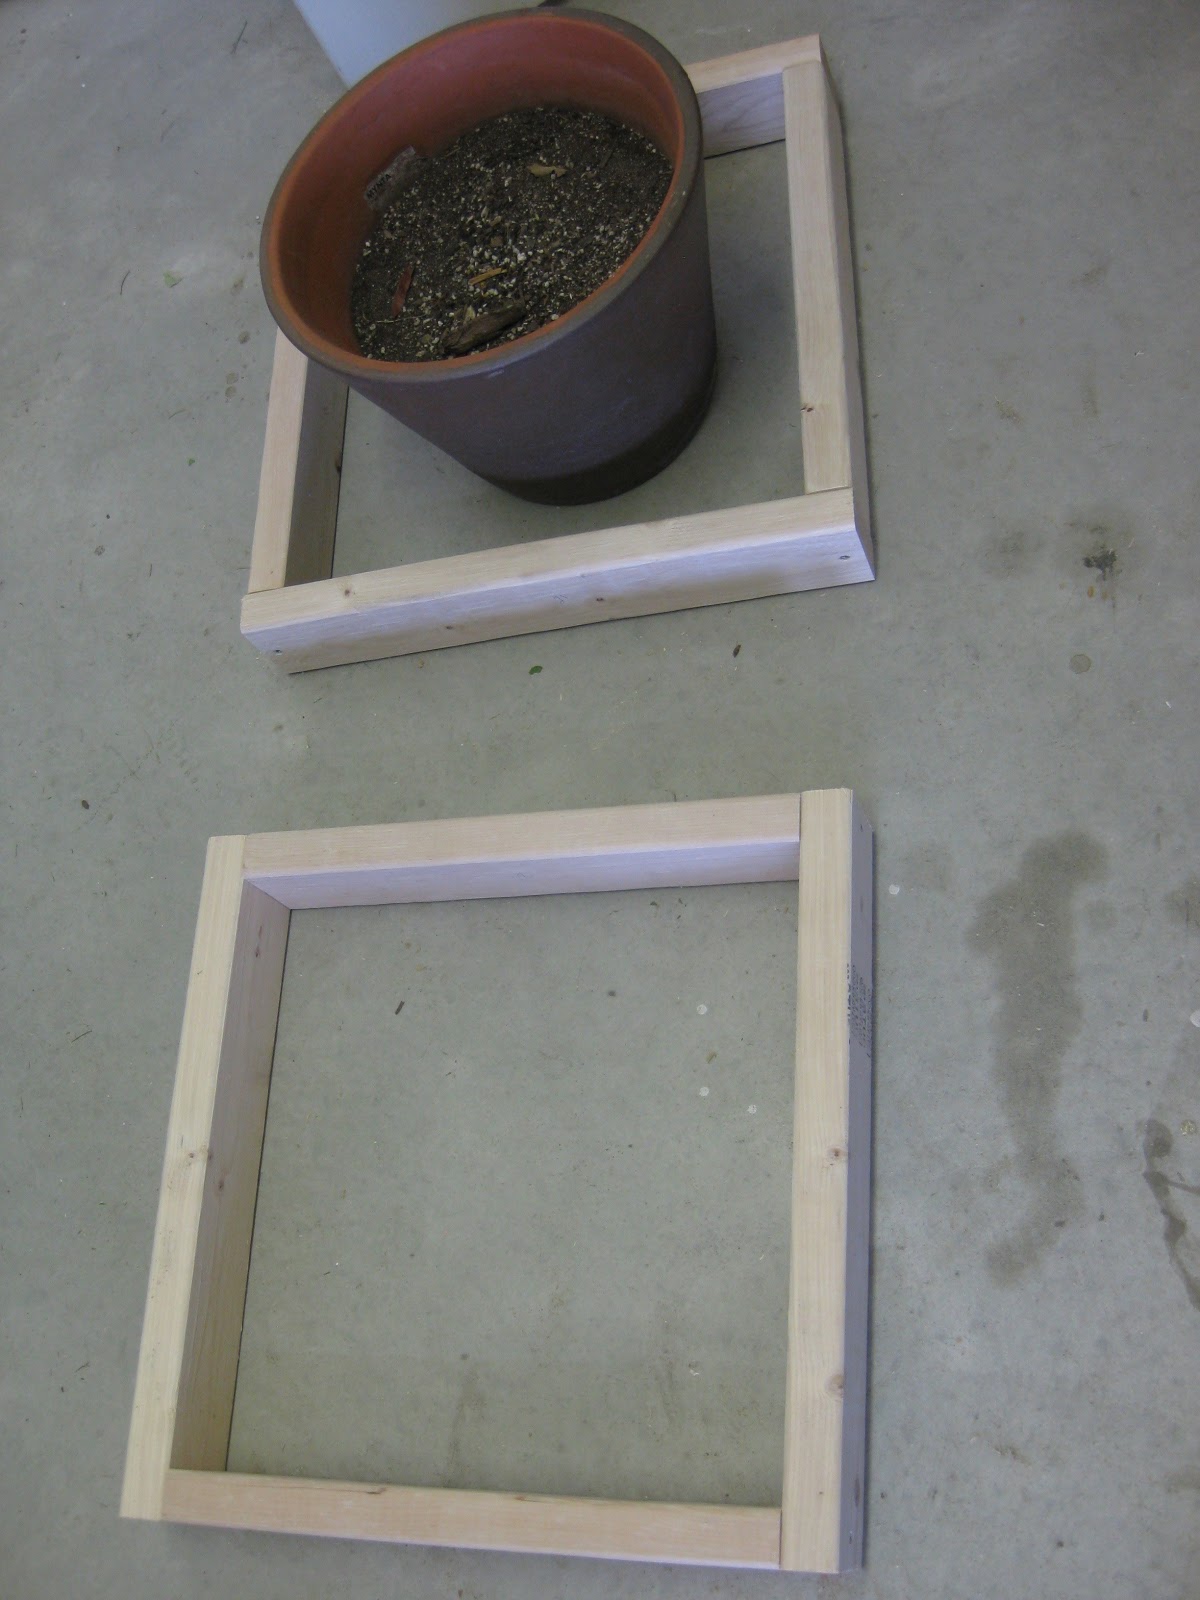

To connect my two squares, I cut supports - 


I screwed them together using wood screws - 


Next I cut and attached two base supports across the bottom -


I used a thin wood panel to cover the exterior that I cut to fit each side of the square -


Using 1x2's, I framed the outside of the squares - 


Then created my x's using Kate's tutorials for all the correct angle to cut - 


I priced out bunn feet and I found I could make them for a fraction of the price.  I purchased a 2x2 and cut 3 inch sections off and marked the center - 


Next I drilled a hole and screwed in a two side threaded bolt -


After pre-drilling holes on my base, I screwed the bunn feet in -


Finally I was ready to caulk and fill nail holes -


Here it is, all painted and filled!  The pot just sits inside the box.  I did spray a waterproof protect-ant inside to keep water damage from occurring.


Friday, May 31, 2013

DIY “How to” Molding Workshop
 Thursday, June 6th: 7-8:30 pm OR
Saturday, June 8th: 10-11:30 am

Want to turn your walls from this,


to this?


In this 1 ½ hour workshop you will receive a demonstration, as well as hands on experience of how to cut inside and outside corners, and simple straight cuts to achieve this look.  You will see different molding options, and the finishing tools you need to complete the project.

cost $20

(5 to a class, payment must be received in order to hold your class place).  Class participants will have the opportunity for future project assistance and receive half off my hourly rates.
You can check out my previous projects at tdadecoratinganddesign.blogspot.com


Contact Trish @ 801-494-9350 or trisha.atkinson@gmail.com to reserve your spot!

Tuesday, May 28, 2013

DIY Farmhouse Upholstered Headboard

The New Farmhouse Upholstered Headboard -


Here's how I did it!

Previously in our other house I had made this upholstered and tufted headboard for our guest bedroom - 


When we moved to our new house our daughter inherited a larger room, thus wanting the queen size bed.  However, the thick tan woven fabric didn't flow with the soft pastels and "cottage" feel we were going for in her room.  

Then I saw this headboard by Amy from The Idea Room that my daughter and I both loved!  She created the farmhouse look with molding around the headboard, then stenciled the inside.  


I wanted to copy that look, but use fabric and upholster the middle instead like the image below I found on Pinterest - 


(original source unknown)

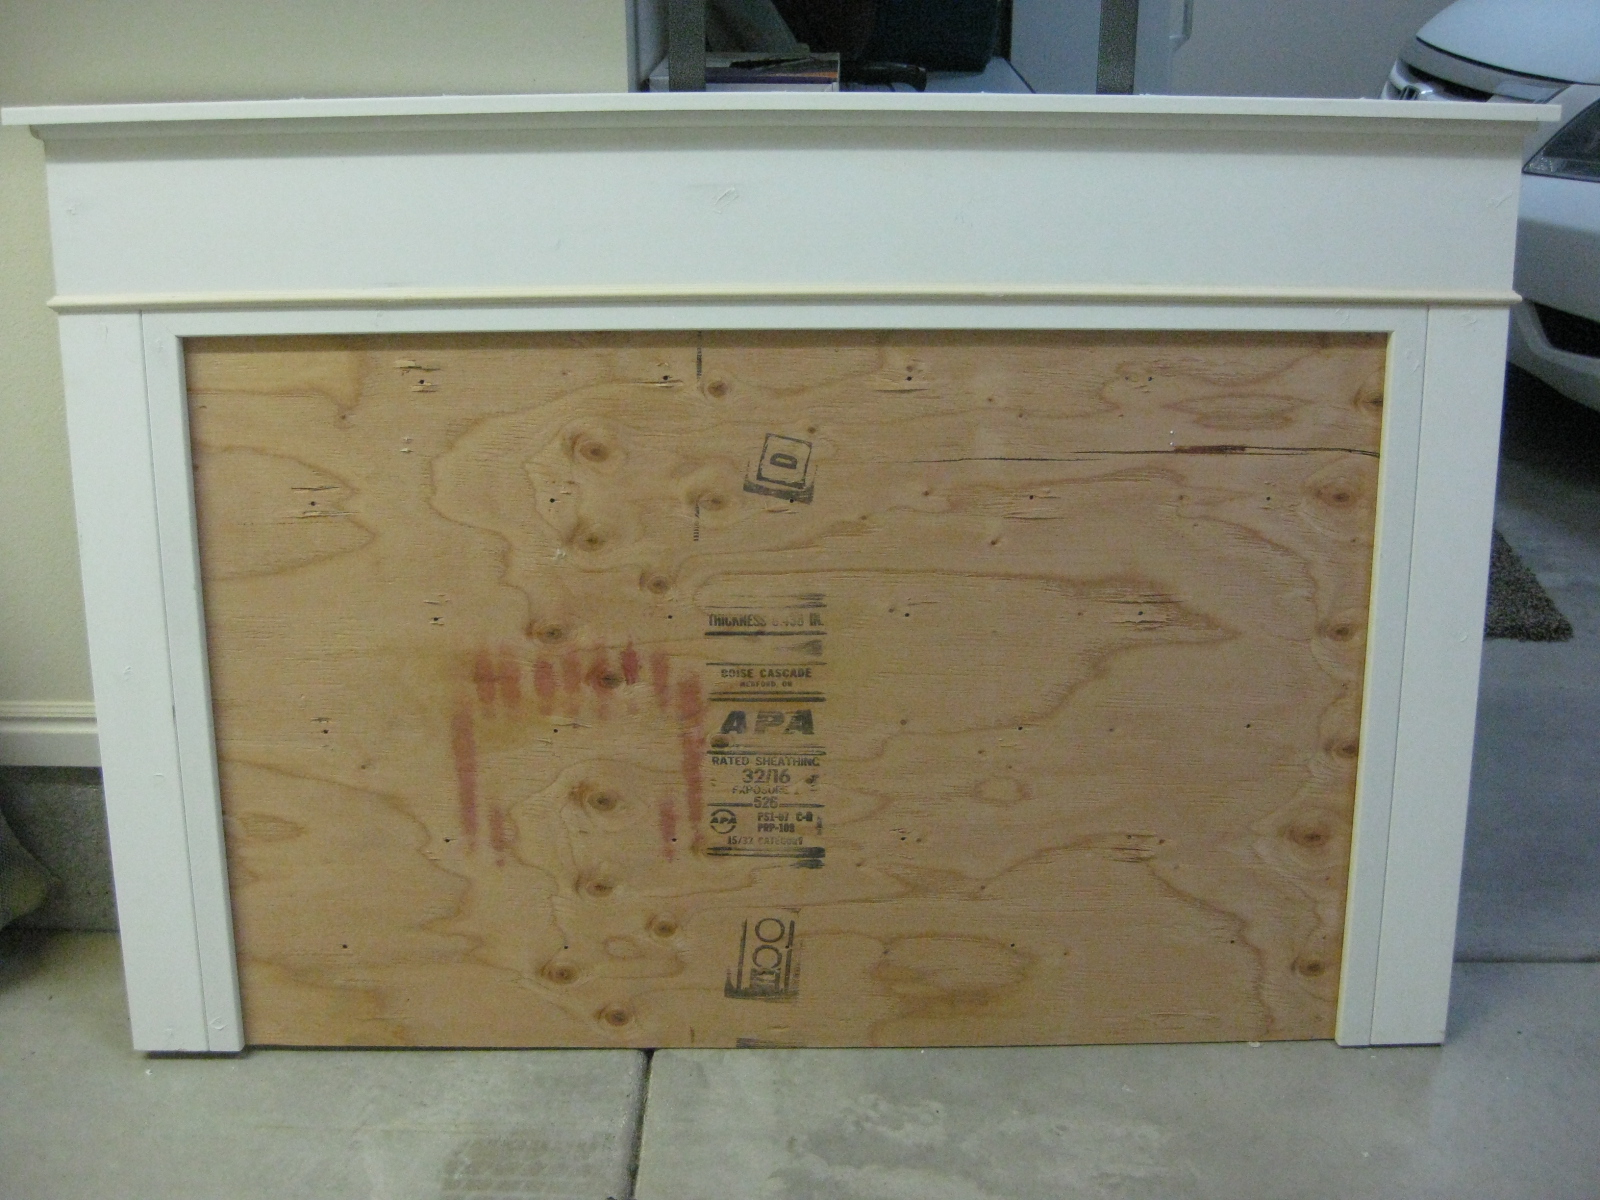
I wanted to limit the extra supplies I had to purchase for the project, so I decided to use what I had and tore apart the original headboard.  I planned on reusing the large queen size cut plywood, thick foam, and batting.  Here is what I started with:


After removing all the tufting and gazillion staples, I was back at a starting point:


I first nailed a 7 inch MDF board across the top of the headboard -


Next, I added 3.5 inch MDF board vertically on the sides -


Then I added a 1.5 inch MDF board on the inside, framing the center with 45 degree cuts -


On the top, I also added a 1.5 MDF board to represent a slight shelf, and added quarter round molding underneath -


Over the seam connecting the 7 inch board from the bottom vertical pieces, I added a small decorative molding, which I mitered around the corners - 


Here is a closer picture of all the molding up close (as well as all my filled in unsanded holes :)


After caulking, puttying, sanding, and painting...it was time to move on to the upholstered middle.


Taking the batting and foam from the previous headboard, I laid the batting down on the floor and placed the foam on top:


Then I purchased a very thin hardy board material that I had Home Depot cut to fit the inside measurements of my head board.  I placed it on top and stapled the batting around the edges, sandwiching the foam in the middle - 


As you can see, my pictures here get scarce :/
I get so into a project I forget to continue taking pictures.  Anyway, after stapling the batting to the board, I repeat by doing the same with the fabric.  After completed, I attached the upholstered board onto the headboard from the back with wood screws -


I felt like the space between the fabric and the wood seemed "unfinished", so I framed it out with another small decorative molding -


Hanging it with D hooks onto studs behind my daughter's bed, it is now complete!  


Friday, May 24, 2013

In-between Before & After - Family Room Update

I have shown you the before and after pics of our living room and office; however, the family room isn't quite ready for it's debut.   


Here is the family room before we bought it:


So far I have added molding and trim to all the windows, painted the walls Sherwin William's Repose Gray, and put in new carpet.  A new light fixture has been ordered and will replace the white ceiling fan next week.

Here is a glimpse and a closer up view of the window trim.

Before:


After:


I am thinking of lined tortoise roman shade blinds to replace the existing blinds, framed photos on wall, rug, and DIY coffee table. 

I am really enjoying the cooler tones, especially the wall color!

Tuesday, May 14, 2013

Before and After - New House Dining Room Turned Living Room

Since I am constantly redecorating rooms all the time, our previous family room had only been redone for about a year before we moved.


  I loved the neutral colors: brown, white, and tan, with accents of greenery...it felt very comforting to me.  I knew when we moved I wanted to replicate this room in our new home. 

Before:


After:


We removed the chair rail and once again added board and batten a little more than 1/2 way up the wall, painted the upper wall the same as the other house, and changed out the light fixture.  The wall color is from Walmart by Colorplace called Woodland Oak, I had Sherwin Williams color match it to their paint.  Since the room is smaller I had to forgo using the chaise part of the couch and the ottoman, everything else fits just perfect.


Monday, May 13, 2013

Before & After - New Home Main Floor Bedroom Turned Office


When we purchased this home the fifth bedroom was on the main floor just off the entry.  It had french doors, and another single door as the entries for the room.  We decided since we were going to use it as an office instead of a bedroom, it would be best to take out the single door, wall it in, and use the french doors as the only entry.  

I added built-in bookcases like we did in our other house, board and batten just over half way up the wall around the room, painted the upper half walls Sherwin William Whole Wheat, and made new curtains using the material from our previous Master Bedroom.  


Before:


After:


During:

After:


It's starting to feel a little more like home...