Monday, June 4, 2012

DIY Printer/Hard Drive Storage Stand Tutorial

The new DIY Printer/Hard Drive Storage Stand - 


Here's how I did it -

After I put our bookcases in our loft, I realized our printer wouldn't fit on the 11 inch deep shelves.  The only space that it would fit would be to the left of my desk; however my desktop hard drive and speaker were already there.  Most end tables were too tall, too wide, not wide enough, etc, etc.  I decided to make my own little storage table that could house all of it, that way I could customize it to the dimensions I needed.  

My friend gave me her left over mdf from another project that gave me plenty of wood to create my own...FREE wood is always the BEST! - 


I used the same concept on how I created the diy custom cabinets in my laundry room.  I wanted to create a box that could hold my speaker and hard drive inside and wide enough to house my printer on top.  

I started by cutting the mdf with a jigsaw into 2 18"x19" pieces for the top and bottom, and 2 18"x16" pieces for the sides - 


 I glued the pieces together with wood glue and nailed them together using brad nails. 


Next I added corner molding by framing out the front of the box, and adding it to the sides towards the back -


I wanted to add bun feet to it but didn't want to spend a fortune.  I found these at Home Depot which were around $3 a piece - 


I loved the price, but they were a little too tall at 6 inches for this particular project, so I cut them down with a miter saw to 3 inches instead - 


I pre-drilled holes underneath into the mdf and put wood glue on the base of the bun foot and screwed them in (be careful when pre-drilling not to drill through the wood, it can be a little tricky with 1/2 inch thick mdf) -


After calking, priming, and painting I had this - 


 It fits everything I needed to store it in perfectly, and adds a nice attractive touch to the space!


Thanks for stopping by!

Monday, May 21, 2012

Stairwell Board & Batten Tutorial

I apologize for not posting in a while, but I promise...I have definitely been BUSY!

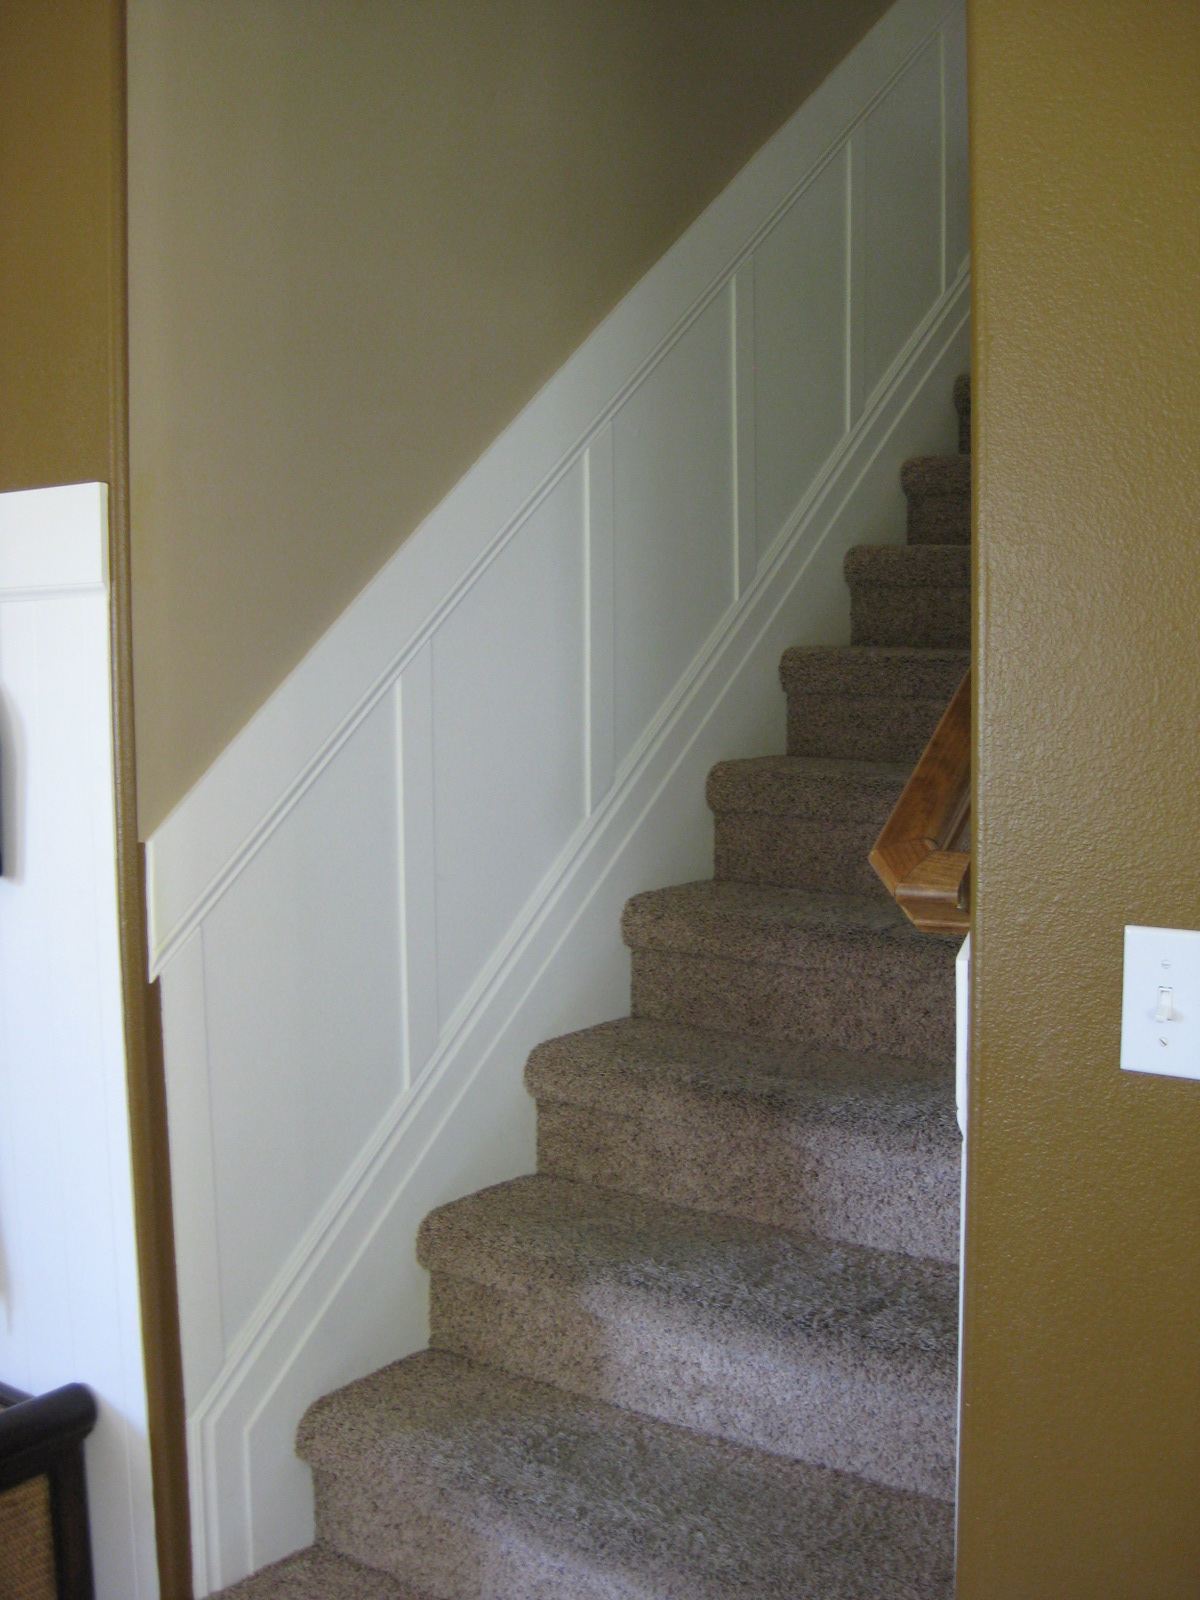
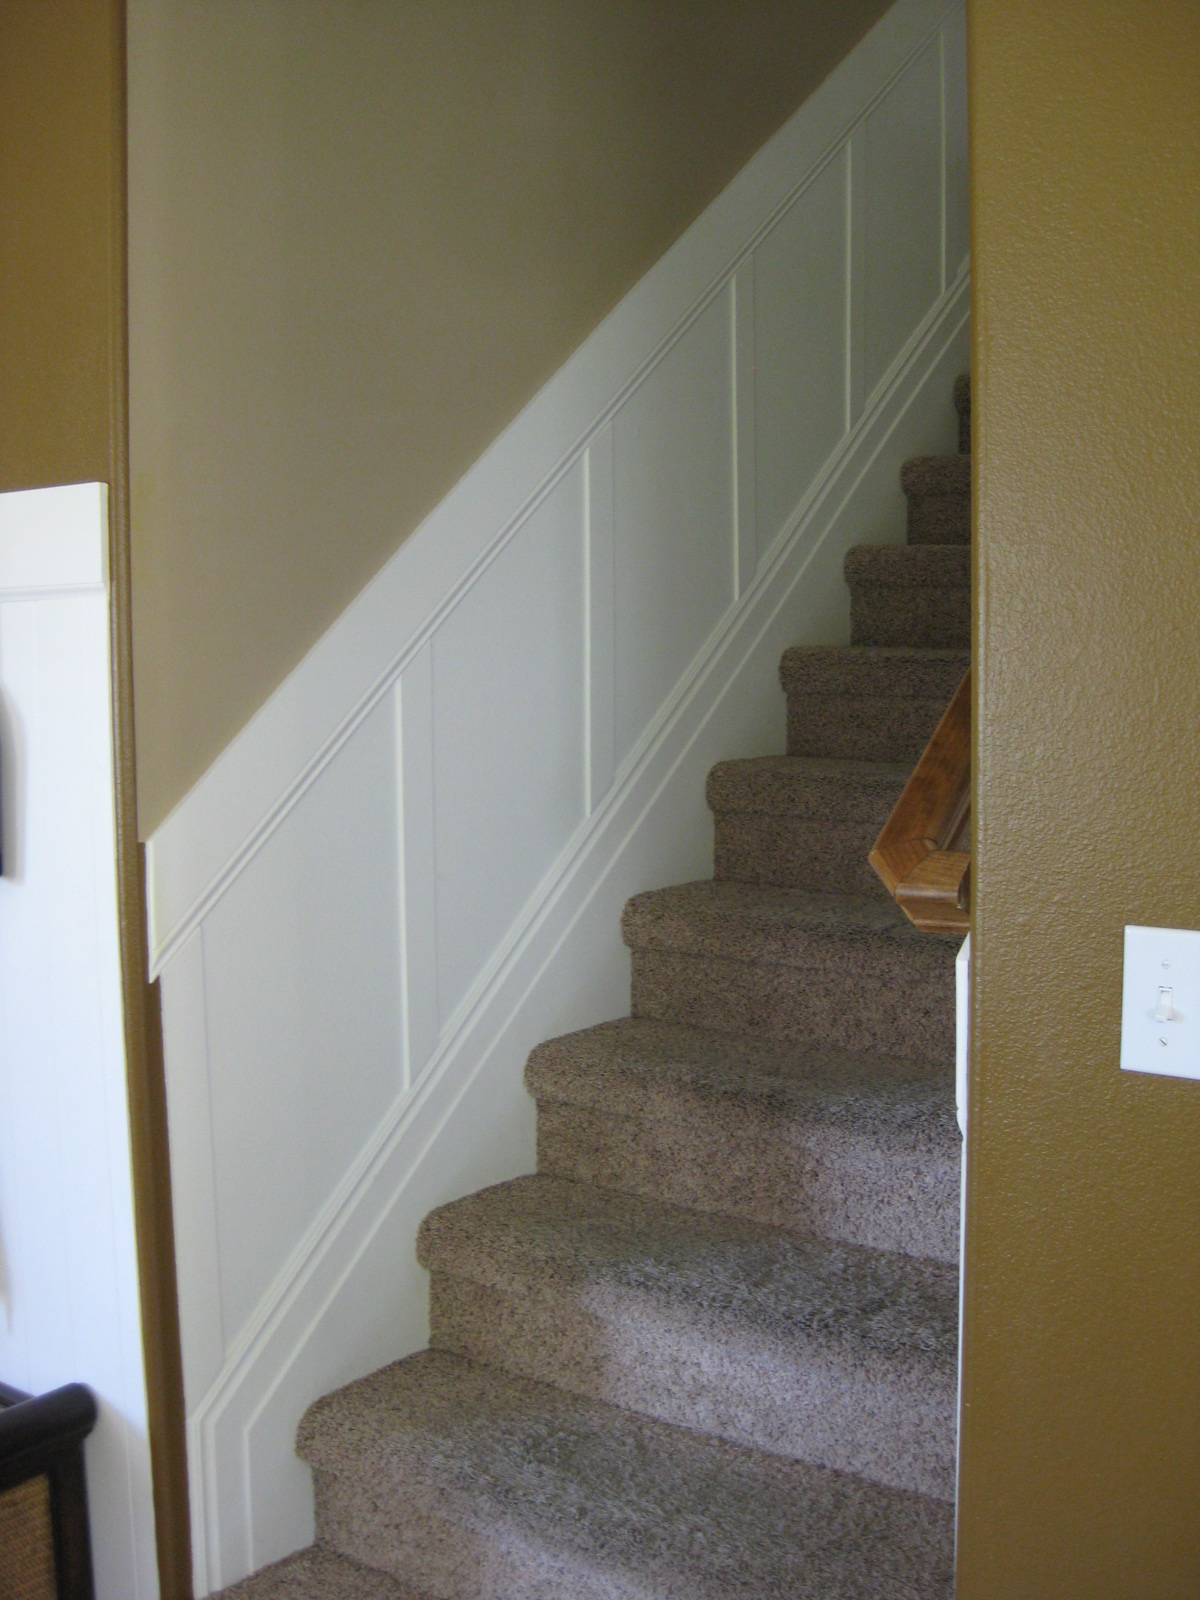
Recently I have been doing a lot of board and batten around my house, starting with my stairs...

before:

after:

another before angle:

and after:

You may have already seen the first board & batten project that started it all...


Then...after completing the room above I saw this inspirational photo from Thrifty Decor Chick's stairs and thought I should tackle that too!!


Here are a few other great stairwell board & batten that I found -


 And here is how I did it, it is really quite easy...

I started off with these runner boards our builder put in when we built our house 7 years ago -


Next I measured 18 inches parallel to the baseboards all the way up the stairs and drew a line - 


Because my baseboards have a thin edge on top I knew I needed to find a board that was thin enough to fit against it, as well as a top piece to connect creating the chair well.  

I ended up using a tall baseboard and flipped it upside down so the thin top of it was now the bottom and the same width as the board I was going to connect them with.  I started by lining up the baseboard along the penciled line I drew along the stairs - 

 
Then I spaced these thin boards every 19 inches apart along the stairs.  The trickiest part is making the angled cuts.  To do this I simply lined my vertical board up making sure it was level, and drew a line where I needed it to be cut to fit against the top and bottom boards...then cut, cut, cut! - 


For the edges at the bottom of the stairs I took my sander and rounded them so they wouldn't scratch anyone - 

 
I used wood filler to fill the spaces in between the top and bottoms of my vertical boards, filled in my nail holes, sanded, primed, and painted!


 (Please disregard my gross carpet!  Fortunately, we are getting it replaced soon - :)
 
 To continue the flow of the board & batten, I am continuing it upstairs into my hallway and loft.  As soon as it is finished I will post the pictures!!
 

Monday, April 30, 2012

Art Cards To Wall Art


After completing the major projects for functionality in my laundry room makeover, I wanted to  make it appealing to the eye with finishing touches.

If you missed the projects from the laundry room makeover, you can check them out here:


There really wasn't any wall space left for artwork or wall decorations; however, there was a narrow space between my storage cabinets and ironing board cabinet.  I wanted it to be meaningful and complimentary to the room, yet not overload the space.  

Last summer, my grandmother gave me these beautiful art cards she purchased from a local Seattle artist.  They are beautiful pen and watercolor sketches.  The talented artist is Gail Wong, and you can see more of her beautiful work here.


 I ordered this last one directly from her, I like to decorate in odd groups and needed a 5th horizontal piece to complete the set -


I LOVE the northwest, both my parents were raised in WA and I still have lots of family there.  I used to go there for weeks every summer and have so many fond memories of this beautiful area.

These were perfect for my space, so I decided to matte and frame these art cards and display them in a vertical college - 


I think they work perfect for this small space!


Thursday, April 12, 2012

Finally, I've Got Built-Ins!


When we built our house 7 years ago I dreamed of built-ins for our small loft that houses our office area.  However, I soon realized that custom cabinets = e.x.p.e.n.s.i.v.e!  I opted for these ladder book shelves instead - 


 It worked for a while, but I didn't get the storage, functionality, or display room that I wanted and envisioned.     
And then I saw Kate from Centsational Girl's Ikea Billy Bookcases turned custom built-ins, and all that I envisioned for this room seemed within reach!

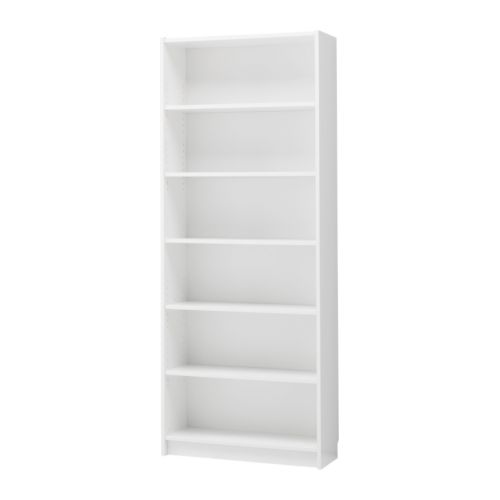
She used these Ikea BILLY bookcases - 

 Added some molding and made them look like this - 


She is amazing!
Here is her after pic.  She painted the backs of the bookcases a beautiful blue - 


Gorgeous right?!

So, $250 dollars later I went from this - 


 to this - 


(The angle I had to take these make the bookcases look HUGE and overbearing in the photo, but in reality they are very proportionate to the space.)

I did these three pieces from Ikea's BILLY bookcase for my wall unit, total cost for this was $139.97 - 


I spent $100 on molding, calk, wood filler, nails, and paint.  I used Kate's recommendation of Valspar's Dove White, which was indeed a very close match.  Due to there not being a wall on each side of the shelves, I had to be creative with my molding on the end to make it look finished.  Here is what the side looks like - 


I love how Kate painted the backs of her's, I am thinking a soft shade of gray/blue might look good in the space. 
I have more plans for this space that I can't wait to complete and show you!


Wednesday, April 11, 2012

DIY Pottery Barn Jute Braid Pillow Look Alike

I have been eying this lovely pillow over at Pottery Barn for some time now, but $39 for just the cover?!  No thank you!!


I figured I could make one that looked similar for a lot cheaper.

I started by visiting Hobby Lobby and purchasing this trim that had the braid look and color to it - 


I found some leftover off-white canvas from a previous project and used that for the pillow.


I attached the trim to the fabric first, and completed the entire square - 


The corners were a little tricky.  I didn't want rounded corners so I just cut and sewed the trim to meet at a point - 


Next I sewed both finished square pieces together on 3 sides.  Then I put my pillow insert in and sewed the remaining side closed.  The corners were to thick to run through my machine, so I close the all the sides and hand stitched the corners closed.

Pretty close to the real thing!


And...for 1/4 of the cost!  Can't beat under $10 dollars!!!