Tuesday, January 21, 2014

DIY Stair Banister Tutorial - Part 2, Replacing the Spindles and Finishing Info

You can find Part One Here

Let me start off by saying that this is how I did it and it worked for me; however, I tend to kind of make things up as I go.  There are several tutorials out there that you might find more helpful than the way I did it.
To replace the spindles I started by removing the old ones.  To do this I took my Jigsaw and cut right through them on the smallest part of the spindle. - 


Next I cut the top of the spindle off  (where there is no varnish, making it flush with the rail when inserted) with my miter saw and used liquid nails to glue it back up inside the top rail.  I did this to have some solid wood for my screw to go into when I put the new spindle in. -


To remove the bottom of the old spindle I had to unscrew it off of this screw - 


We purchased our new square spindles from Home Depot for about $4 each.  I cut them to the desired length I needed them to fit between the top and bottom.  Next, I found the center on one end and drilled a hole into it so that it can be screwed into the screw pictured above.
(yes, I do know that I didn't quite hit my center below :)

Lastly, I used my Kreg Jig to make a pocket hole on the opposite end of where I drilled the other hole:


I added Liquid Nails to both ends and screwed the spindle on to the bottom screw.  Once in place, I put a 2 1/2 inch pocket hole screw in the top attaching it to the top railing.

After doing this a gazillion times, you have new spindles!


I caulked the spindles on the top and bottom, and used wood pocket hole plugs and wood filler to fill in my pocket holes.

I painted the newel post, bottom rails, and spindles a latex white in satin that matches the rest of the molding in my house.  


For the top rails and hand rail, I sanded them and then made sure I got everything wiped down very well.  After covering and taping off everything but the rails,  I used General Finishes Gel Stain in Java and General Finishes Poly/Acrylic Satin (you can also buy it at Four Chairs in Lindon if you are local).
I saw and used a great tutorial from Confessions for a Semi-Domesticated Mama on how to use it.

This stuff is seriously amazing to work with, and it goes a LONG way too!


DIY Stair Banister Tutorial - Part 1, Building Around Existing Newel Post


The Before:

The After:


Here is how I did it for $150...The existing newel post (the large post on the end) was super strong and sturdy and I didn't want to disrupt that.  I also didn't want to pay $100 for a new Craftsman style newel post; however, they do have them at Home Depot if you decide to go that route.  I decided building around the existing newel post would be the best option, it would keep it strong and keep the cost down.  

I cut out the following for one newel post:

(x2 of 3/4" MDF) 4" x 18"
(x2 of 3/4" MDF) 5.5" x 18"
(x2 of 1/4" MDF) 4" x 32"
(x2 of 1/4" MDF) 3.5" x 32"
(x2 of 1/4" MDF) 3.5" x 4"
(x2 of 1/4" MDF) 4" x 4"


Start by placing the 1/8" 32" long pieces around the base of the newel post.  I liquid nailed the edges and added supports on the inside with wood scraps and paint sticks, then nailed them to the post from the outside. 

Next I enclosed it and used clamps while the glue dried (make sure you nail it into the existing post as well). -


Next add the 3/4" 18" long pieces to the bottom, glue and nail in. -


Then liquid nail and clamp the small 1/8" pieces together.  After it set and dried for a while I added some small finishing nails to the sides for a little added strength. -


I purchased this cap in the outdoor fence section of Home Depot and liquid nailed it to the top of my box. - 


Then, I added some more glue inside and nail gunned it to the "ball" on the top of my existing newel post.  Now you are ready for molding! -


The molding for the two middle pieces, I used a cove and panel molding.  Here is the specific info for both of those:
Panel SD186 HEM 1/2 x 1 -1/16
Cove WM100 HEM 11/16 x 11/16


This small molding below I found in those little bin sections with other small molding that comes about 3 feet long. -


I added it below the base of the top box. -


Now with all the molding on you can caulk and use wood filler to fill in all nail holes and wood seams. -


Part two - I will show you how to replace the spindles and what I used to finish it.

This post is linked up to:


TDC Before and After

Savvy Southern Style

Before & After DIY Stair Railing Makeover Reveal

When we were looking at homes last winter I fell in love with all the craftsman stair rails and knew it was a look that I wanted in our next home.  Immediately after settling in to our home I got a bid to replace this short stairway to our basement.  Unfortunately, the $900 didn't fit my budget.  After seven months of thinking about how I could create it myself for less...I did, and it came to $120. :)

Before:

After:


Tutorial -
Part One
Part Two

Friday, December 20, 2013

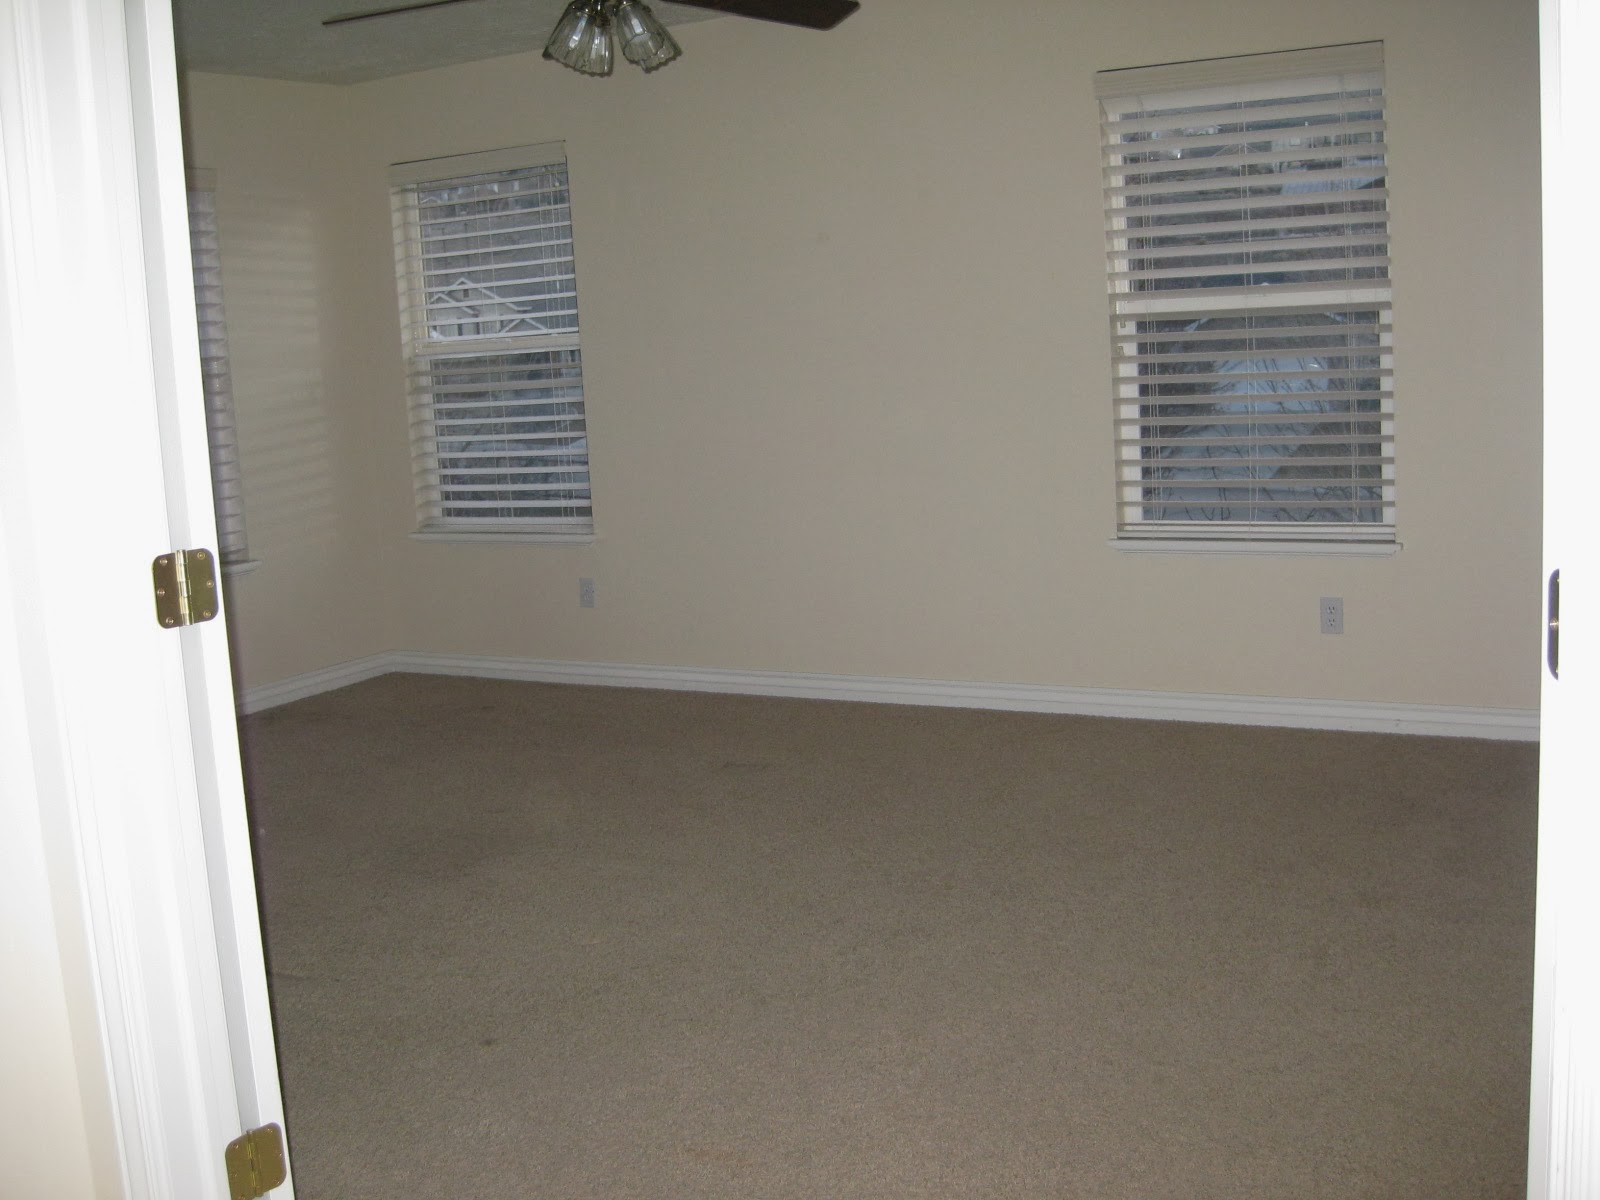
Before & After of Our Master Bedroom

For our Master bedroom, we painted the walls Valspar's Notre Dame, added new carpet, installed new moldings around the windows, and changed out the window treatments and light fixtures.

Before: 


After: 


Stay tuned for the sitting room that is off to the left of our bed...

Before & After of Our Boy's Newest Bedroom

Since our move this past March, we have been slowly changing our "new to us" home to make it our own.  You can see our other transformations here: living room, office, kitchen nook, and mud room.

Before: 
(seller's photo)


 After:


Thursday, December 19, 2013

Christmas Projects, Check! New Barn and Bunk Beds...

This elf is finally DONE! 
 Nothing like waiting until the last couple weeks before Christmas to finish the projects my girls asked for. You might remember the Barn Stable and Bunk bed my girls asked me to make for them for their birthdays earlier this year; well, they each wanted their own of each and asked that I make them what the other received. I wanted them to be different from each other's so they each thought theirs was unique and special. 

 My youngest wanted the barn; however, she wanted hers red. At first I cringed, red just doesn't go with her room decor. :) After shopping and getting ideas with my friend, I am SO glad she requested red.


As for the other daughter who wanted a bunk bed, we chose a different style from Ana White's site, and also made her quilt different.


I hope these girls enjoy them as much as I did making them!

Now on to wrapping EVERYTHING else. :)

Have a very Merry Christmas!!

Wednesday, September 4, 2013

Before & After Eating Nook

Here is the before and after eating area in our kitchen.  Please excuse the terrible after picture.  I LOVE all the windows in this house; however, I can't for the life of me get a decent picture because of them.  At least you get an idea about the space. :)


Before:

We painted the walls Repose Gray by Sherwin Willams.  The light fixture is from Ethan Allen, many thanks to my family for getting it to us!!

After: