Wednesday, April 6, 2011

April Decorating Tip Of The Month

I know I am not alone when I walk by a framed photo or artwork on the wall, stop, walk back a couple steps, fix it "just a tad" so it isn't crooked, and continue on to where I am going again...am I???


Well, I had to find a solution...and I did!! I found this great tip to be a lifesaver with my own OCD "levelness".

All you need are:

1.) Thumb tacks

and...

2.) A hot glue gun!

After you measure and figure out where you want to hang your photo, glue on one tack in each of the bottom corners of the frame -


Hang your photo without pushing the tacks into the wall. Next, place your level above the photo -

Once it is level, push the the bottom of the frame placing the tacks into the wall. And....stand back and let those kids go crazy because those photos aren't going ANYWHERE!


Now, I can walk by the frames in my house and just keep walking. :0)

Saturday, October 23, 2010

Reupholstered Bench


After seeing lots of blogs with cute “redos” and upholstery updates I have been wanting to give it a try. I found this old bench online for only $15 bucks! (KSL – another version of Craigslist here in Utah) and redid it.

The old (picture from KSL seller)...


I first painted the legs of the bench, Rustoleum's Heirloom White. Then I reupholstered the bench, added a cording trim around it, and tufted the seat.

And the new...


Total cost – $43

$15 (Bench – KSL)
$7 (Brown Fabric Remnant)
$5 (Button Covers and supplies for Tufting)
$3 (Cord Piping)
$5 (Staples)
$2 (Upholstery tacks)
$6 (spray paint for legs)


I love how it turned out! This bench will be positioned at the foot of our guest bed. The room is currently receiving a "makeover", I can't wait to show you the end result of it all!


Wednesday, July 21, 2010

Office Space/Loft

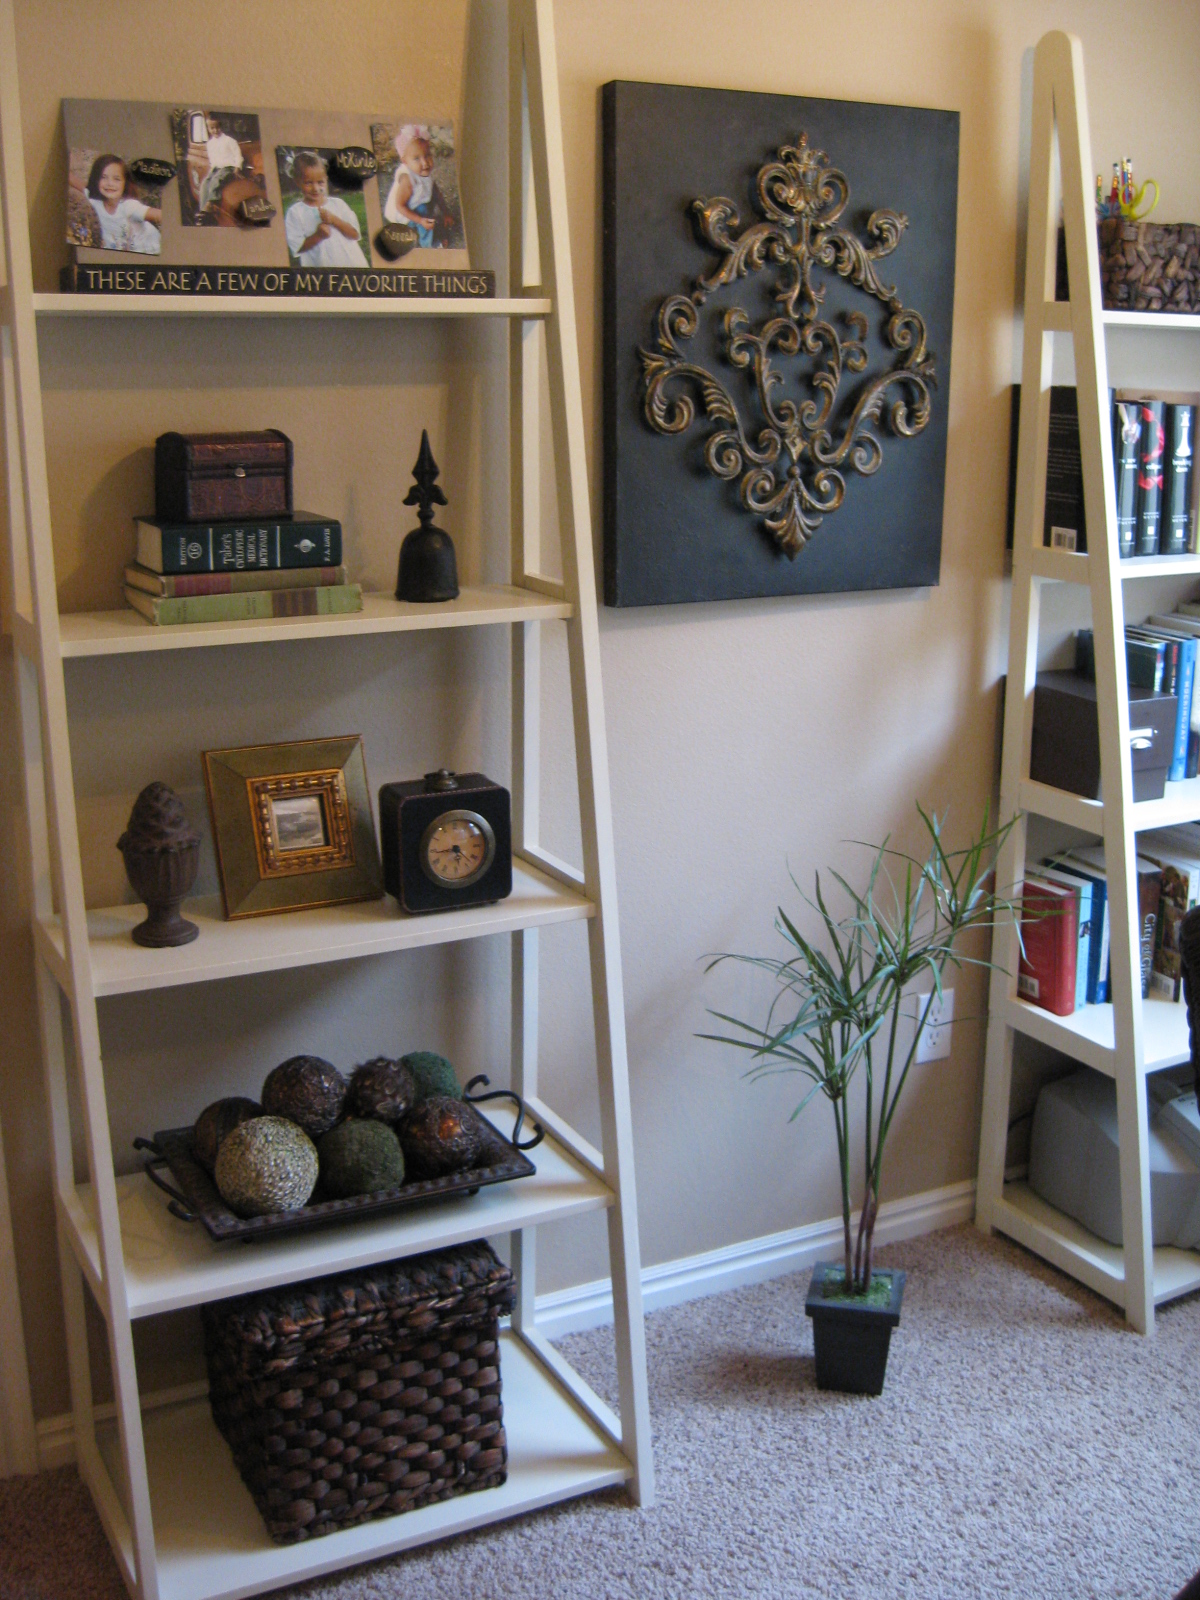
We have a small loft area just off of the stairs on the upper floor of our house. It made a great "office" area for our family since we felt it was crucial that our computer be out in the open for our children, and all our 5 bedrooms were already spoken for. I really wanted to do built in bookcases; sadly, they are quite expensive. They will be added to my list of "someday" projects. In the meantime I found these ladder bookshelves at Shopko for $50 each!
The bookshelves were originally black, along with the Pier One Imports writing desk that I picked up.  I painted them an antique white, and offset them with dark brown décor and warm tones.


I found both the paisley and lattice patterned fabrics at Hobby Lobby and created the Roman Shade and pillows that you see.


Originally, as seen in the “before” picture below I had long drapes on this single window.  I am so glad that I created the roman shade, it lets in so much more light into the space!

 
 Here is a fantastic Roman Shade tutorial link that I used to instruct me on how to make my shade : http://www.terrelldesigns.com. There is a calculator on there to determine everything you need to know and have to make it!


Friday, May 14, 2010

Roman Shades And Some New Fabric Makes A Whole New CHANGE

One thing that I really like is...CHANGE.

Remember this family room?  - 

Before:


I changed it up! By adding three new coordinating fabrics, changing lamps, adding a tree, adding molding to frame windows, and switching out the drapes/blinds for Romans and a new french door treatment...I got the CHANGE I wanted...

After:


Thursday, May 13, 2010

Basement Family Room

Before:


After:


Before:


After:
(After photos were taken before client's frames could be filled with sepia photos)


Before:


After:


Before:


After:


Sunday, March 14, 2010

March Decorating Tip Of The Month!

If you are hanging a window treatment that fully covers the front of a window; for example a valance, hang it further above where the window actually starts.  This will make the window appear larger and let in a lot more light with still the decorative touch! 

February Decorating Tip Of The Month!


One of quickest ways to freshen up and update your kitchen is to add a tile back splash. 

Check out this link at Daltile for some of my current favorites:

http://www.daltile.com/series.cfm?series=288&next=1&pg=1&rm=1#4372

Friday, January 1, 2010

January Decorating Tip Of The Month!

Always have a "focal point" in each room. Have it be what stands out upon entering that room.
 

Main Floor Make Over

This client purchased a rental property and wanted to freshen up this space, make it their own on a limited budget.  They wanted color, darker wood, new carpet, new blinds, valances to let lots of light in, and a warm homey feel.

*Unfortunately, the red wall color did not photograph like it is in person.  It definitely is not pink, but a rustic warm red color.*

Family Room Before -


Family Room After -


Entry Way Before - 


Entry Way After - 
(due to flash, color isn't as bright in person as shown below)


Dining Room Before - 


Dining Room After - 


Kitchen Before - 


Kitchen After - 


The white walls, linoleum, and appliances had to go.  To accommodate the light cabinets we found laminate flooring that had both light and dark colors present.  We upgraded to stainless steel appliances, added antiqued bronze cabinet hardware, new kitchen faucet, and a tile black splash to pull it all together.


I would say this space is definitely warmed up a bit without breaking the bank!

Friday, November 20, 2009

Girls Room


The Pottery Barn Look We Were Going For -


 The Similar Look At Less Than 1/4th The Cost!

Click to enlarge photo for detail: 


To achieve this look I purchased a used set on KSL which consisted of a desk, chair, nightstand, and dresser for $70. The set was around 20-30 years old, dark wood stain, formica brown tops, and had been painted several coats of white paint on top of that which was dinged up and chipping. I stripped it, sanded it, and added new wood round knobs ($10) http://www.homedepot.com and farmhouse style bunn feet ($68.55) (http://www.tablelegs.com). After preparing it for painting ($25 - Benjamin Moore Color color matched to Kilz at Wal-Mart) I sent it off here http://www.the-chic-life.blogspot.com who refinished them all for $225.

Total cost for all 4 pieces: 398.55

Compared to Pottery Barn Set: $1866.00 -
Dresser - $799
Nightstand - $349
Desk - $599
Chair - $119