Sunday, May 22, 2011

A Redo Already?

When my 10 1/2 yr old going on 20 year old comes to me and says she doesn't like her room anymore my first reaction is to get upset.  I created the room as a blank canvas only 2 short years ago.  Then, I remember how patient my husband is with me EVERYDAY that I tell him I am going to change this, then I am going to change that.  She gets it from me, so in reality...I am the one that created this monster in the first place.  (And I do use the term monster VERY lovingly:0)

Her room now:

Apparently, she HATES purple...??? Really?  Somehow I guess I missed that when we were decorating her room 2 years ago. 

So, I said I would we could work together to change things to her liking on two conditions:

1.) We have to keep the same bedding.  We got her a Pottery Barn quilt and sham that I don't want the expense of replacing.

2.) We keep the furniture set which I spent HOURS sanding & prepping to get professionally painted. 

She wants light blue walls, bead board, new light fixture, and overall a little more grown up.  

I can appreciate change; afterall, I am constantly doing just that to our entire house. 

Poor hubby, he now has two monsters to live with. :)


Saturday, May 21, 2011

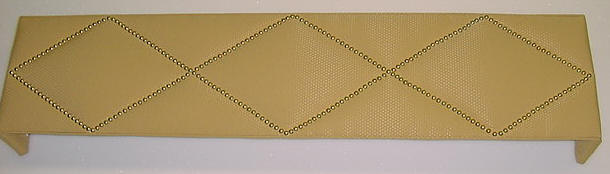
Upholstered Cornice

Often to hide drapery hardware, or simply for decoration, cornices are decorative boxes added as an extra touch to window panels. 

Here is a sample I found online:

I have been thinking for quite some time of doing this in our family room.  I wanted to bring some more pattern into the room and thought it would make my room feel taller by drawing the eye up. 

Here are the windows in mind:


I was thinking of using this fabric -


I am not sure if I should do a solid with nail head trim like the sample pictured above and use this fabric for more pillows, or use this for the actual cornice.

I would love to hear what you guys think...???


Friday, May 20, 2011

The Dress-up Armoire Curtain How To

Today I will show you how I made this easy peasy curtain on my dress-up armoire from yesterday's post. 

Even if you have never sewn before, YOU can do this!  All you need to do is sew a straight line. 


First, I found this lovely pattern at Walmart of all places!  Only $4.99 a yard.  The colors in it are so cheerful and feminine.


The opening on my door is 16" x 36". I purchased 1 1/2 yards (54" wide) and cut it down to 41" x 44".  I knew that I would be making 1 " seams that I rolled twice so I would have a clean edge, making my completed curtain 36" x 40".  I wanted quite a bit of gathering once hung on the rod which was my reason for making it so wide. 


Once cut to 41" x 44", I hemmed the sides first with my 1" seam. 


I prefer the larger seam for something like this so that I can have it lay more flat once pressed.


Once I sewed the sides, I then did the same to the top and bottom creating pockets for my rod to slip into. 


The rods I used were sash rods from Walmart.  They were under $3 for two.


It comes with the brackets to install directly onto the surface.  The rod then just slides onto the bracket. 


I found it helpful to install the top rod first and test out how tight I needed to make the curtain before marking where the bottom rod needed to placed. 


And there you have it!


Thursday, May 19, 2011

Big Reveal - Before & After Thrift Gun Case Turned Dress-Up Armoire

Without Further ado, here she is!


For those of you who missed my previous post about this, I picked up this old gun case holder at the local thrift store for $25.


As soon as I saw it I knew it would be great for my girls' dress-up clothes in their room so I didn't have to trip over THIS mess anymore:


So I took it home, gave it a good cleaning, removed the gun rack shelf, and filled in all the holes with wood filler.


Then I sanded, primed, and painted it with Valspar's Bright White in Satin. 


I found this cute knob at Hobby Lobby and used a 50% coupon to snag it for only $3.99.  It compliments the fabric I used perfectly!


Next, I created a curtain behind the opening in the door. Check back tomorrow to see how I went about making this curtain.


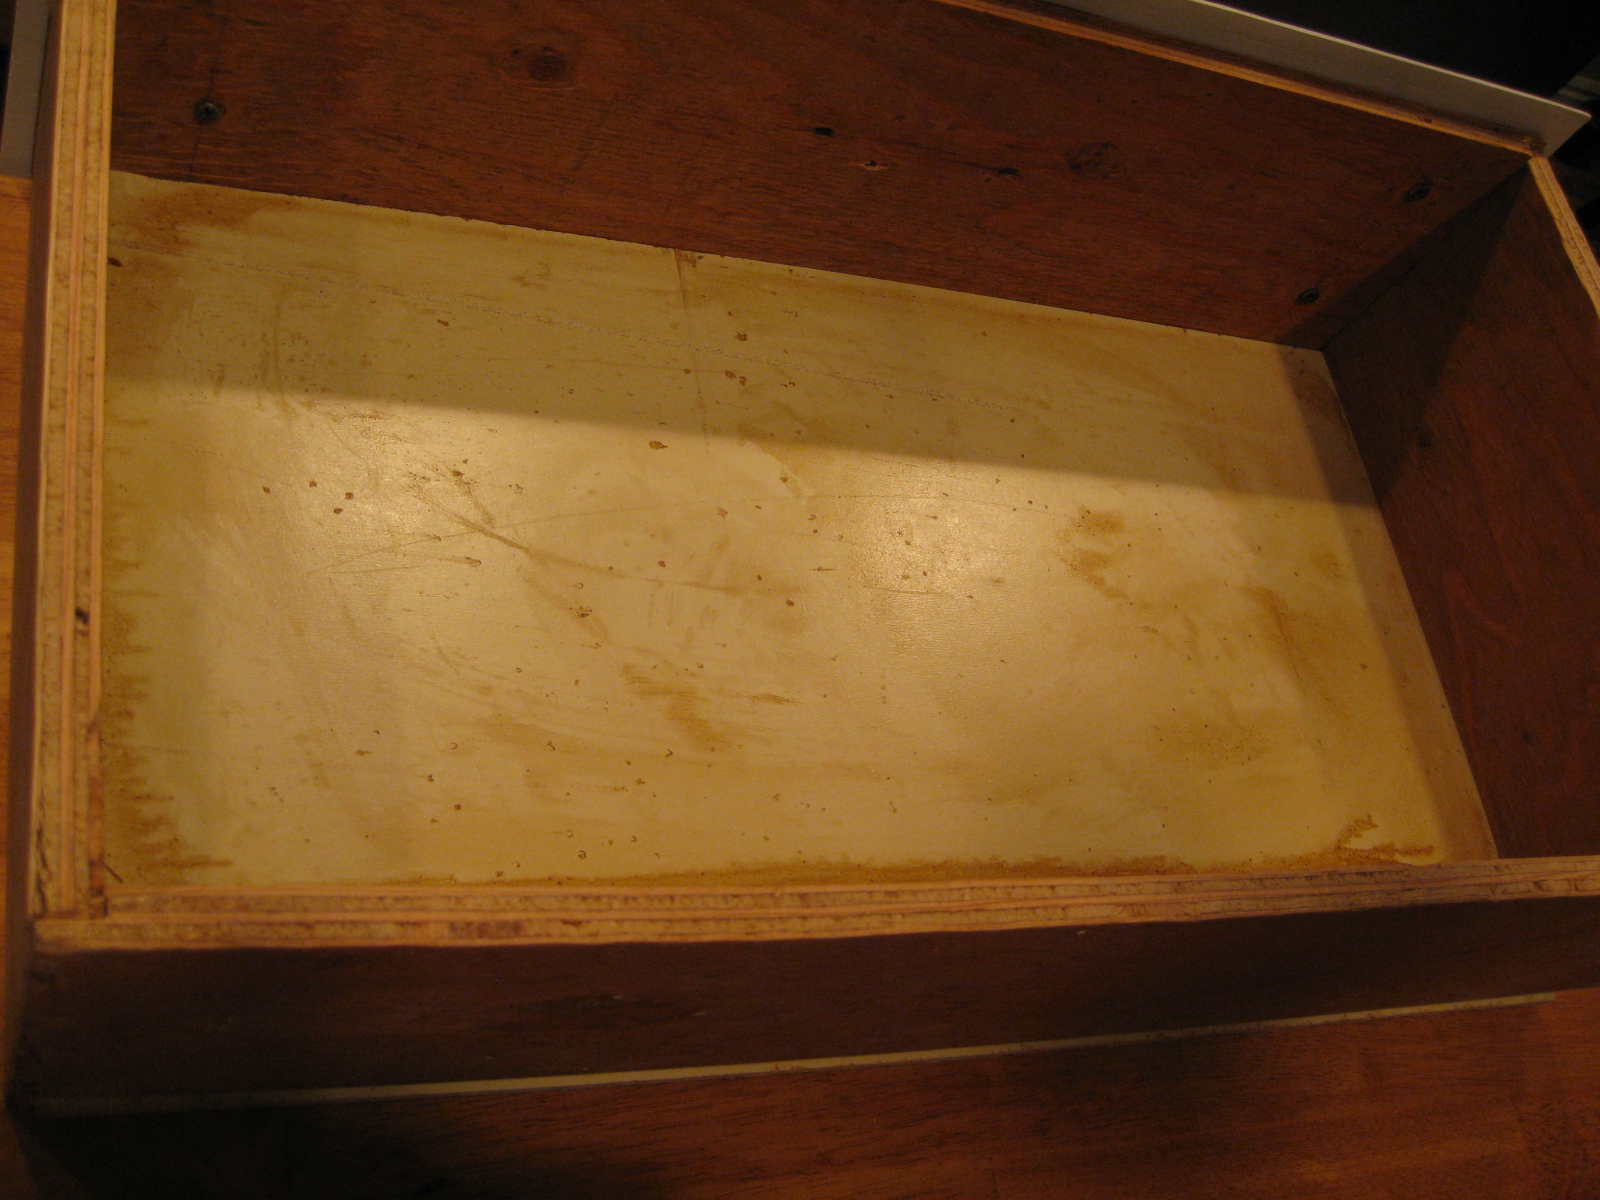
The inside of the drawer was disgusting.


So I covered it with white contact paper which made it feel so much cleaner and fresh:


And after all that work here it is all put together.


I also added a tension rod inside the armoire for them to hang their dresses, wings, and tutus on.

I found a couple of buckets laying around that I put their play jewelery, sunglasses, and combs in.
I absolutely LOVE it, and to make it even sweeter so do my girls!


My girls use their dress up clothes SO much more now that they are so organized and accessible. 

I hope you all like it as much as we do!

This was featured at:


I am linking up with:


Join  us Saturdays at tatertotsandjello.com for the weekend wrap 
 up           party!

The Shabby Nest


Photobucket


Make it Yours @ My Backyard Eden


Photobucket


Creations by Kara


The Cottage Chick


Becolorful