A dark leather sectional wraps around the back edges of our family room, leaving the middle of the room open and bare. When I am decorating, I like to fill in the spaces giving it a very comfy and "homey" feel. Sometimes this is a problem with my hubby, he doesn't like things in the way that can be tripped on or over. A coffee table was out of the question since it was a hard surface and unmovable. That led me to an upholstered ottoman. It allowed extra seating for my kids and their friends when gaming or watching TV, a foot rest, or a level surface for serving or setting beverages. Plus, it is soft if they bump into it during wrestling episodes, or easily moved out of the way when they want to have an impromptu dance party.
Deciding on a rectangular shape due to the room size and layout of the existing furniture, I went online to search for a used one that I could change to accommodate my space.
The were many options, but I knew as soon as I saw this one that it was the perfect one. I purchased it for $50.
Deciding on a rectangular shape due to the room size and layout of the existing furniture, I went online to search for a used one that I could change to accommodate my space.
The were many options, but I knew as soon as I saw this one that it was the perfect one. I purchased it for $50.
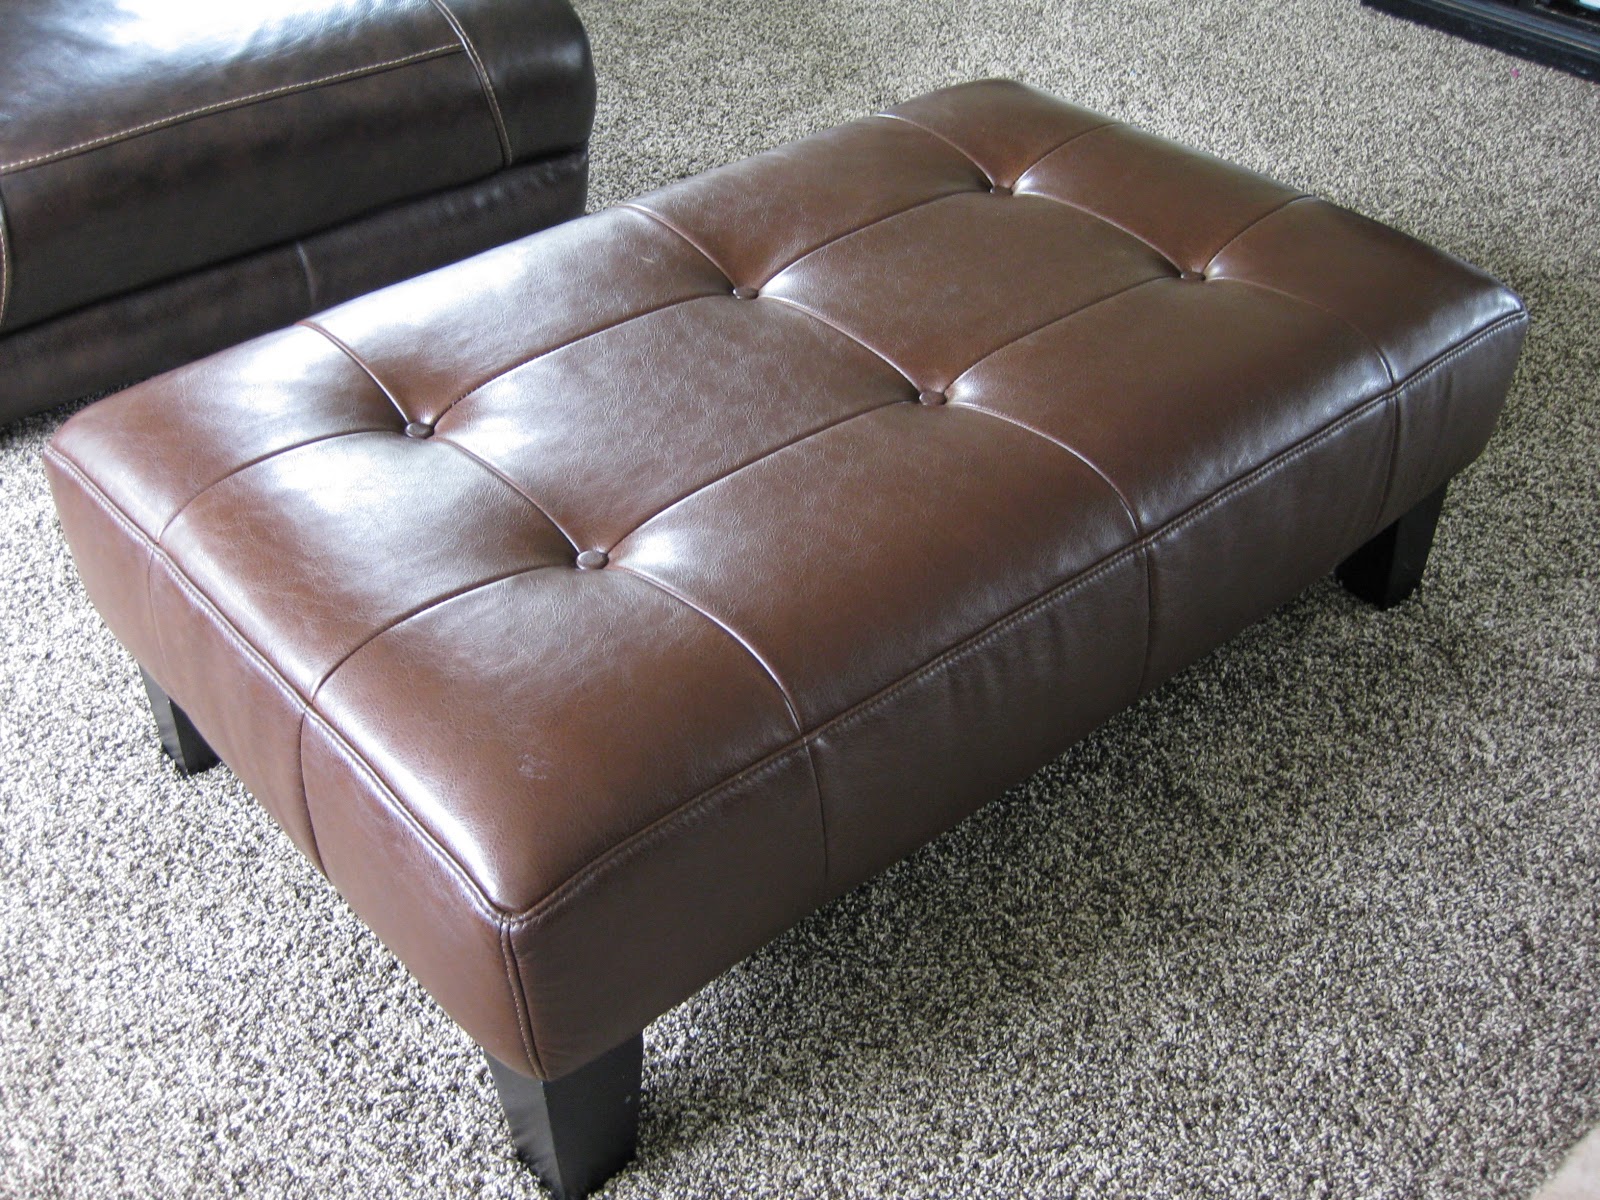
It was in excellent condition; however, the leather was a different color than my sofa, AND most importantly I didn't want leather with leather. I like to mix my materials and I really wanted a fabric.
After getting it home I stripped it of it's original leather. The foam was in excellent condition so there was no need to replace that. I found a soft gray with dark brown undertones upholstery fabric at a local fabric store for $5/yd. Another trick I have recently learned, is to take a strip of fabric to a local upholstery shop and they can make professional tufting buttons for very inexpensive. I have used the tufting kits that you can buy at the craft stores, but found they are really hard to use with thick upholstery fabric, and also aren't as strong and break down the road. The large 1 inch buttons that professional upholsterers use are very strong. I paid $2 a button, which is totally worth it, and only a few dollars more than purchasing the kit without all the effort in making them.
here is the before:

and the after:

before:
before:

after:
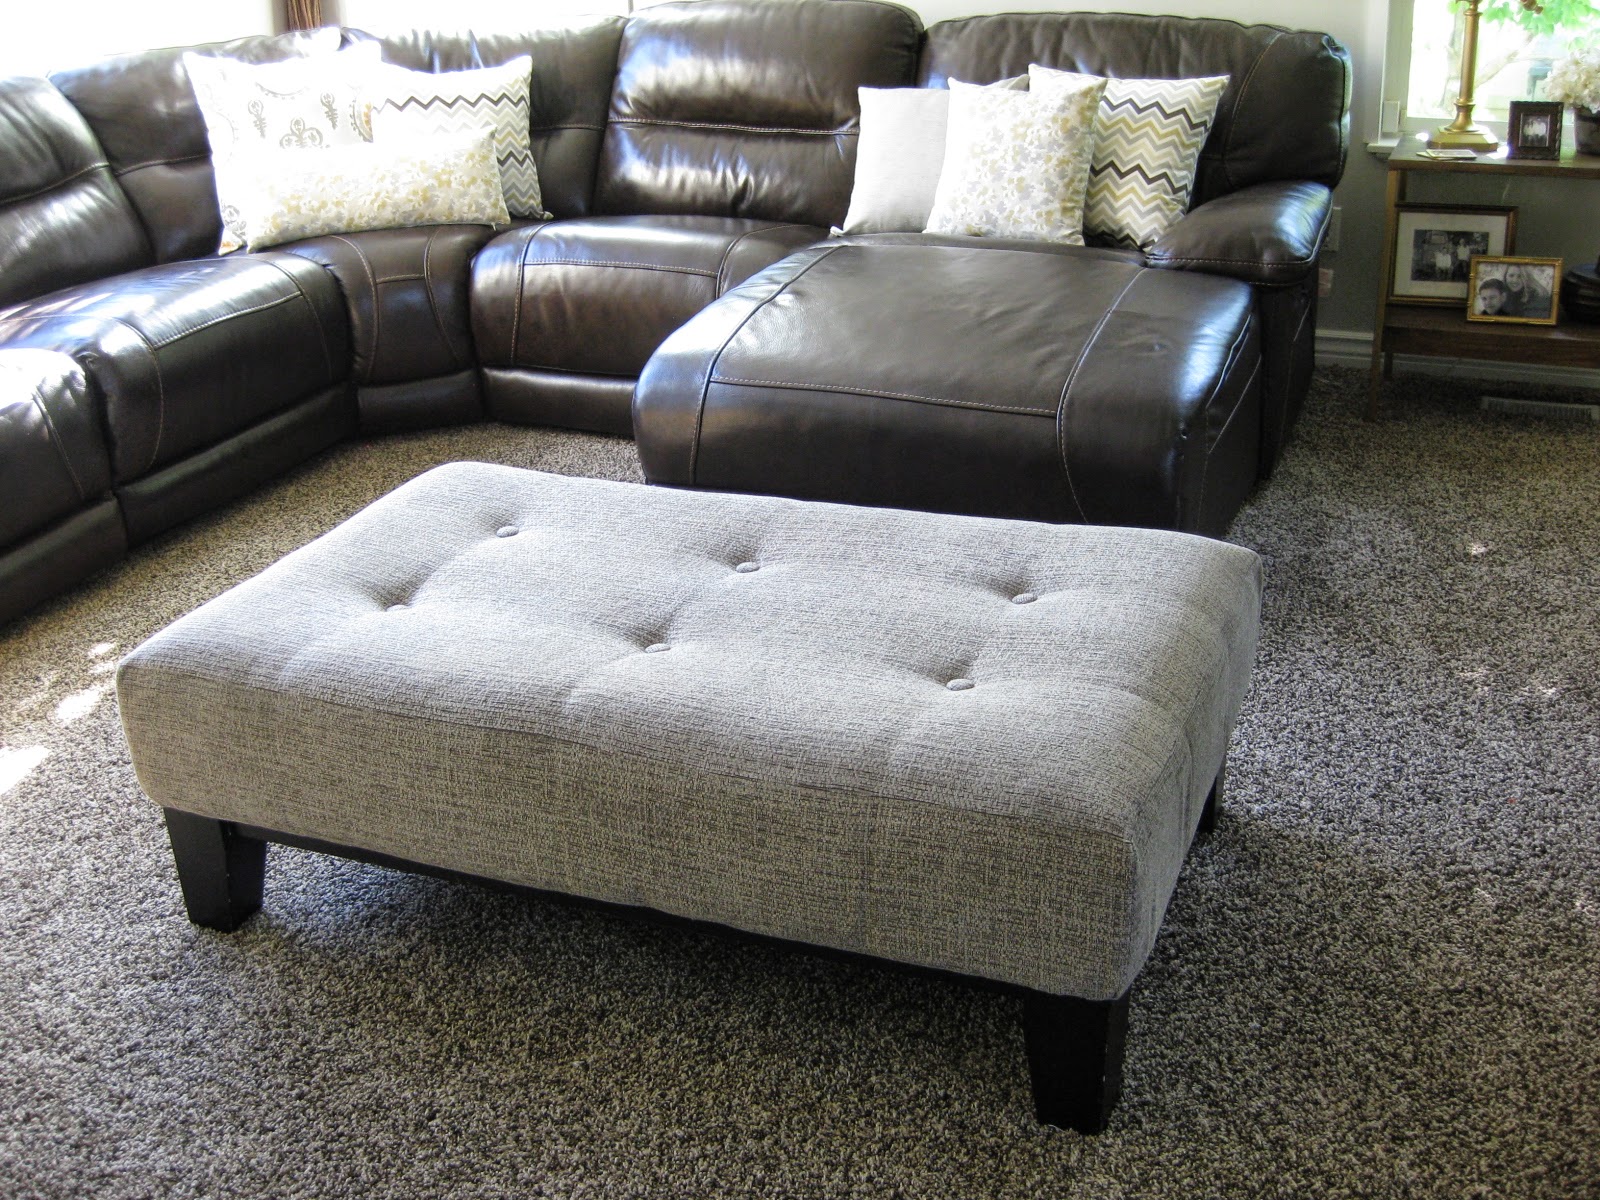
Total cost $77
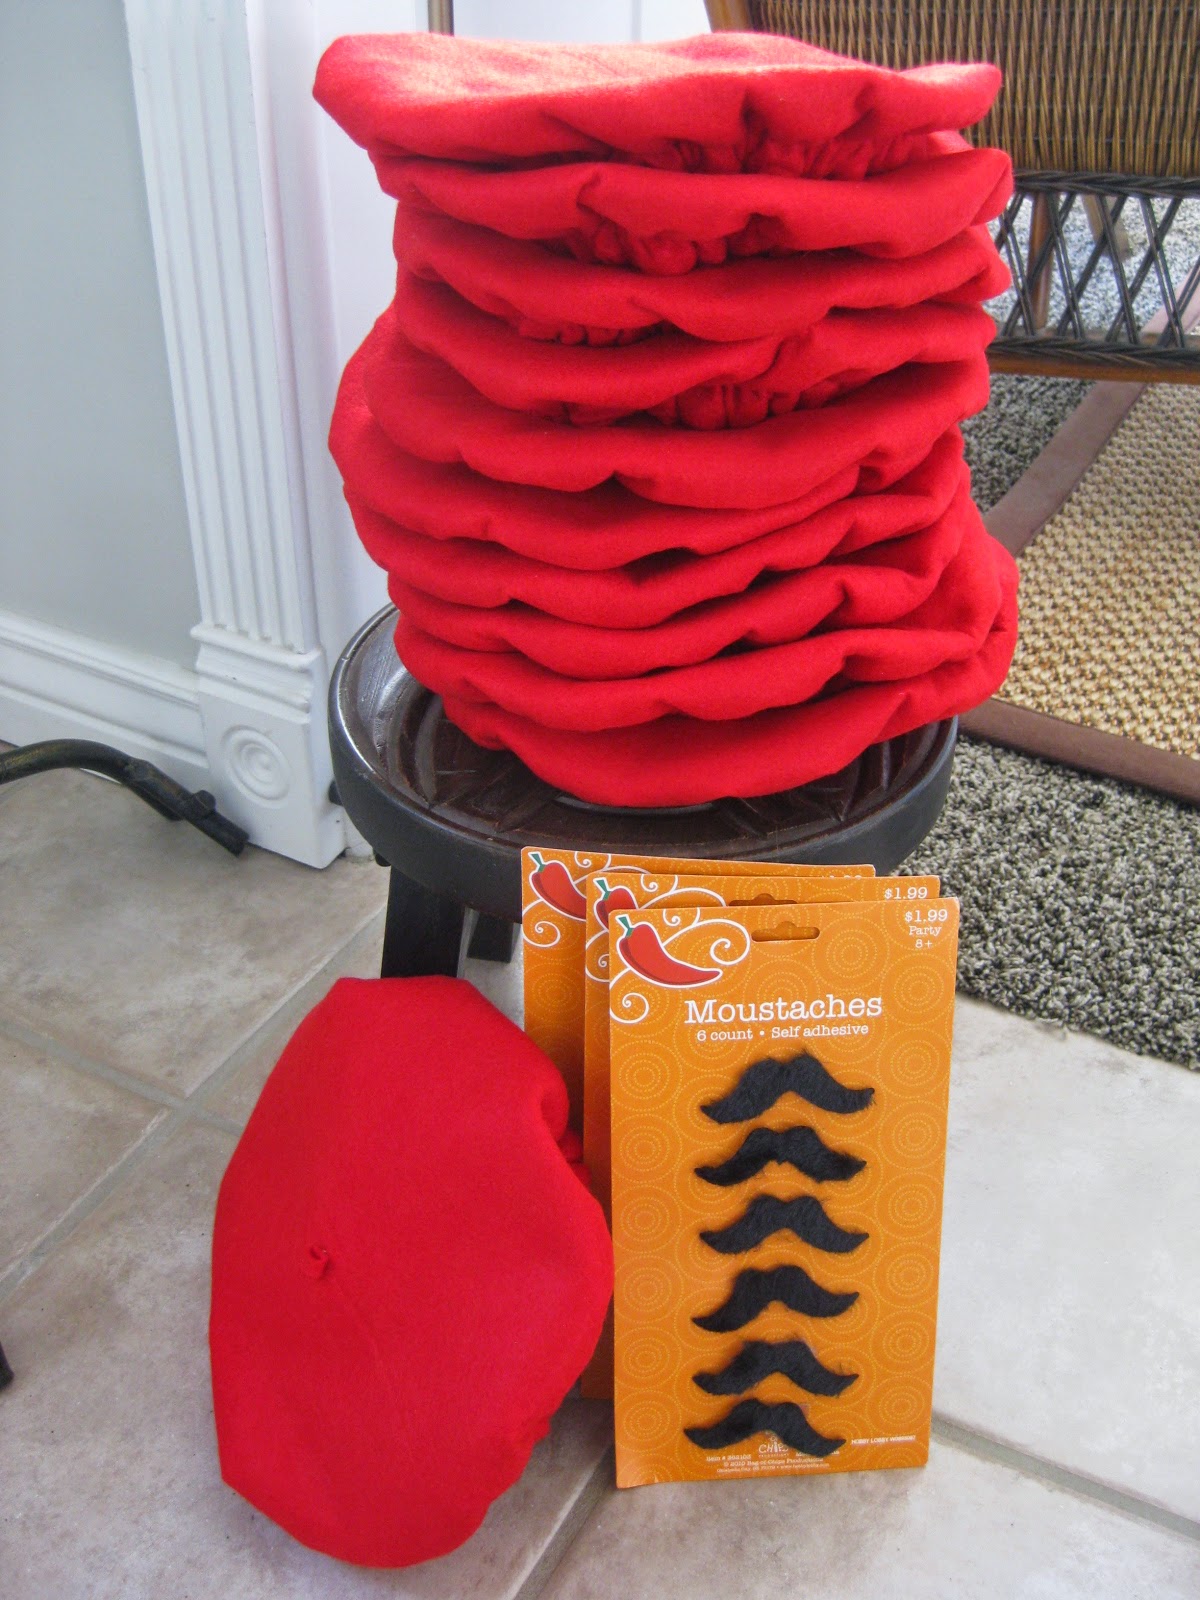
Hope you all enjoyed your Memorial Day Weekend!
Here are a few pictures from our weekend -

Hope you all enjoyed your Memorial Day Weekend!
Here are a few pictures from our weekend -